To upgrade my studio to the new production and mixing setup I’ve been dreaming for so long, I needed a few more hardware processors, like equalizers, reverbs and compressors. Several years ago, I built a IJ Research Neve 2254c (a DIY stereo or dual mono Neve 2254, with the sidechain circuit taken from the Neve 33609) and still being enthusiast for its sound, I wanted something similar, without having to spend a fortune on a “real” AMS Neve 33609 stereo compressor, or on a pair of 2254R
Choosing to build a couple of AML Neve-2254 seemed to be the more logical option, hoping to have a good performance and not going bankrupt in the process.
Diode Bridge Compression
On Youtube there’s an interesting interview with Rupert Neve, explaining the origin of this family of limiter compressors and the development of their technology.
Neve was contracted in 1969 to find a substitution for the limiter compressor modules installed on Pye (Philips) mixing consoles at ABC TV, who promised buying a big number of units.
Rupert Neve used a diode bridge as control device, as he reports on this interview:
“The diode is a non linear device with a huge amount of distorsion“ but if configurated as a bridge, distorsion lowers considerably. “So you can apply audio across one set of contacts and you apply your control voltage across the other side, it’s a classic bridge configuration. And by carefully choosing the limits of control and signal, it gave a quite good account of itself “
Neve developed the device implementing parts of their products already in production, as the line amplification section was the same as the famous Neve 1073 microphone preamplifier. The original 2252 developed in the successful 2254 and in the stereo 33609.
AML 2254 kit
As I recently wrote about an other one of their kits, I want to be clear that I have nothing to do with AML, apart from being a happy customer. Based on my previous experience with this company, I expected the kit not to be too hard to build and all the parts of the best quality. On this aspect, I had a confirmation once received the box from the postman. Holding it, it was so heavy, this could only meant there was a good quantity of IRON in that box! (more later)
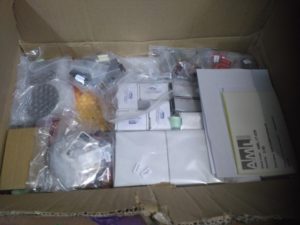
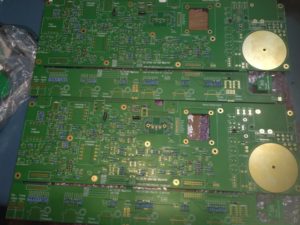
As expected all parts were carefully sealed in separate labelled bags and the texts on the boards, were easy to read
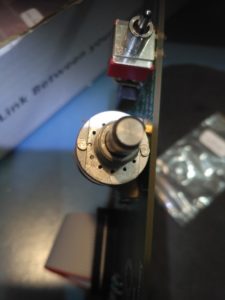
The front panel is made of high quality switches from Greyhill, The scary part for me has been programming them. This is done through inserting some tiny metal cylinders, in one or two of the programming small holes and when I say small, I mean almost impossible to me to see, without proper magnification lens.
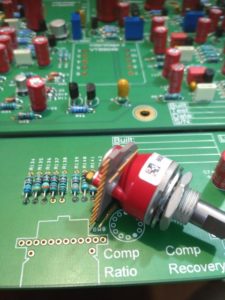
While building the Fairchild EQs, hasn’t been easy at the beginning to complete this task. Last time, to program the switches, I tried grabbing one of those tiny pins with the wrong tweezers and suddenly one of them took off, landing somewhere on the floor. It has been hard to explain to my dog, who came running for help, what there was so interesting to stay sniffing under the table for so long!
“The Sound Is In The Iron”
This phrase supposedly said by Rupert Neve, means that iron in the audio transformers has big importance to get the classic Neve “Sound”.
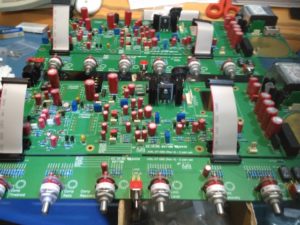
Same as the Fairchild equalizers of the previous article, AML included only electronic parts of the best quality.
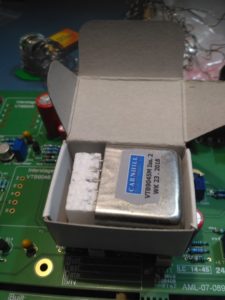
The Carnhill transformers included are handbuilt faithful recreations of the classic units they built for Neve, under the name Saint Ives Windings.
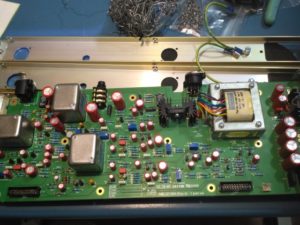
The VU meters are the same Neve used to mount on the 2254 console modules. I like the original look, but I prefer the Sifam I mounted on my 2254/33609, as these are easier to read.
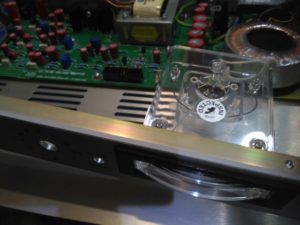
Included in the kit are the classic Marconi knobs, I really love them!
The part that I enjoyed less (as usual) has been building the frame. This one is solid, it works, but is more complicated to build than the one chosen for the equalizers. To be honest, I don’t like the vinyl adhesive front face neither, it looks good with a shiny white granular texture, but I’m not sure how long it can lasts and I find the classic RAF grey blue of the original, more attractive.
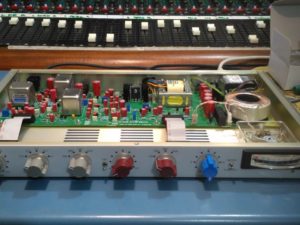
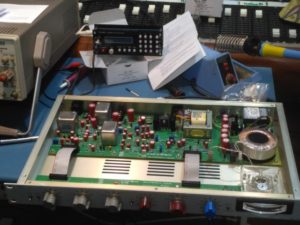
To calibrate the pair, I had to recur to the Pro Tools Signal Generator, as the new function generator I had assembled, couldn’t reach 20dBU or the 7.74v RMS required
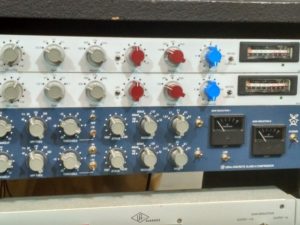
Here we are, the two DIY Neve 2254 completed, tested and now in good company in the rack!

awesome.compression is a major part of all recording from the start to the end [ mastering ] I find a lot of vst compression just wont do the final job right.this machine would have no problem getting what you need.great words max
Thanks Rick, I agree and that’s the reason I’m back to analog!
Heh heh didn’t understand too much about the insides of the compressor but always love to hear Rupert Neve telling those stories!
He does a great interview with Dave Pensado somewhere on YouTube if you haven’t seen it.
Another well written and informative article man!
Really happy you found it interesting, thanks! I’ll watch that interview for sure!
loved it thanks for posting the video too!
Thanks Trey, so glad you enoyed it! :)
I am curious about the ‘programing’. I used to have to hand set all my interrupts when adding new hardware to my motherboard back in the 90s and when I was a kid I did some rustic digital programming with hard wire: wire=1, no wire=0. It was 4 bit addition and very boring. Needless to say, given the limitations of frobnicating hard switches, what was the purpose of the programming? what are you adjusting?
and how much did the kits cost?
Being expensive, those switches are universal to save costs. Placing those tiny metal cylinders, you can program how many steps of switching you need. They act as physical stoppers for the switch, allowing it to move only on the range needed. The kits are available at audiomaintenance.com at around 600 British Pounds. Thanks for your visit! :)