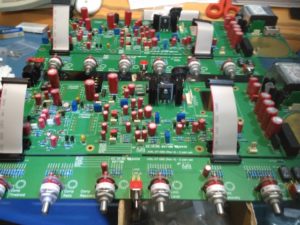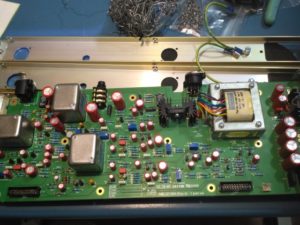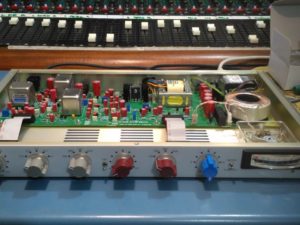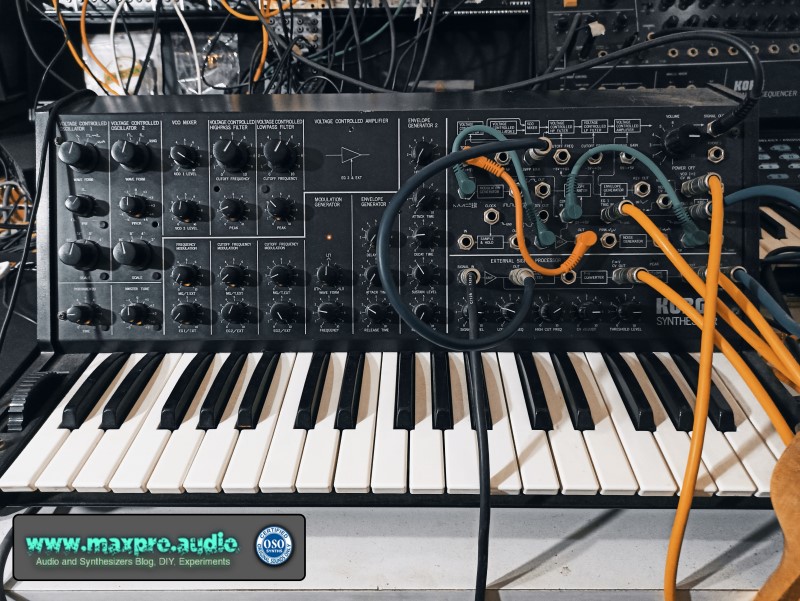
Vintage KORG MS-20 repair and the “bad copy” service manual errors

My poor synth was diagnosed as dead and no longer “resurrectable” (yes, resurrection is not that uncommon with electronic equipment), several years ago, already.
On the last visit by my former audio technician, the response was:
“Buy yourself a new Behringer clone, they’re not too expensive ..”
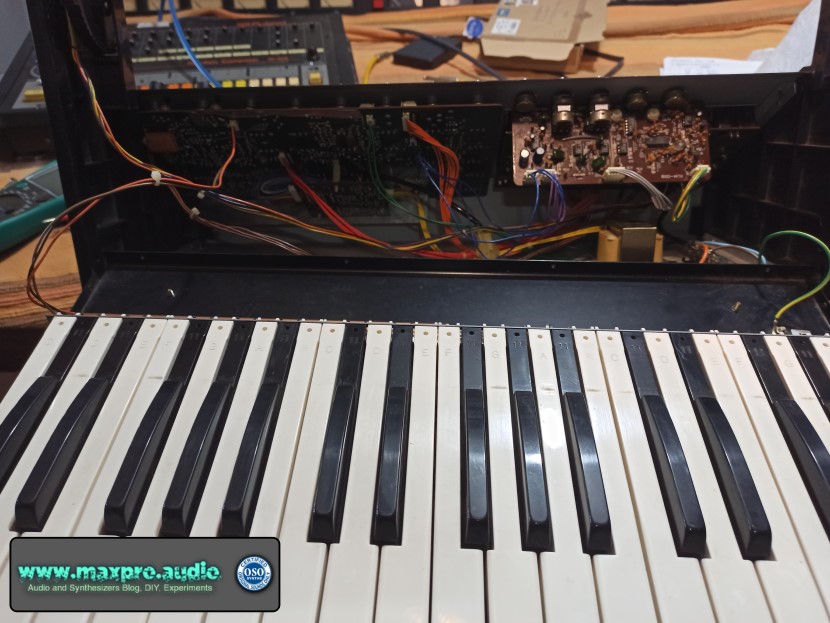

No, I couldn’t accept that my first synth was destined to be thrown away! Apart the economic side, there is another aspect that always makes me think: The old keyboards are a piece of our history, witnesses of our technological evolution and often rare survivors of other times, but not for these reasons, musically outdated. Indeed, like important art objects, they should be protected by special laws! :D

OK, joking aside, on those times, my technical knowledge in electronics was not sufficient to being able to make a diagnosis and schematics, looked to me like hieroglyphs of some alien race.
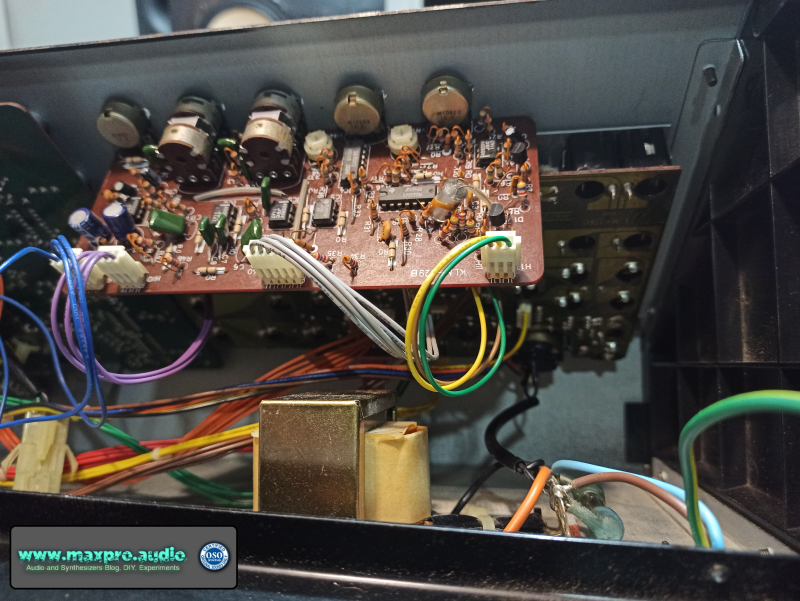

But with patience, reading texts, watching videos and consulting friends, I started to become more aware on how my old and stinky electronic musical instruments work, even inside their panels.
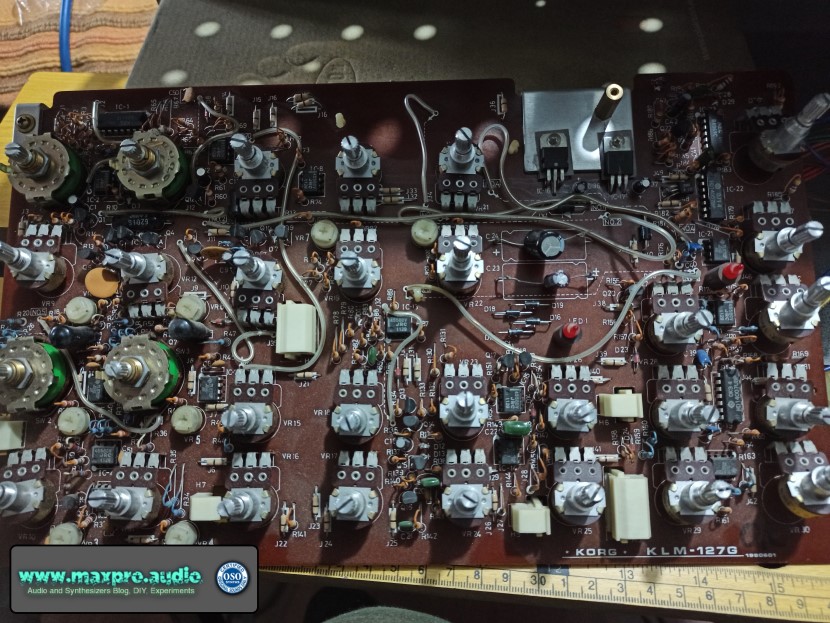

My synth remained open in a corner of the studio for very long, I walked past it without even seeing it, almost to avoid the pain of having to give up, but one day everything changed: I looked at it carefully and whispered “don’t worry my friend, we’ll be back playing together, like in the old days, very soon!” … Well, to tell you the truth, it wasn’t very soon really, but the promise was becoming true. The KORG MS-20 started always being on my mind and I was looking for information and literature to prepare myself to the repair.
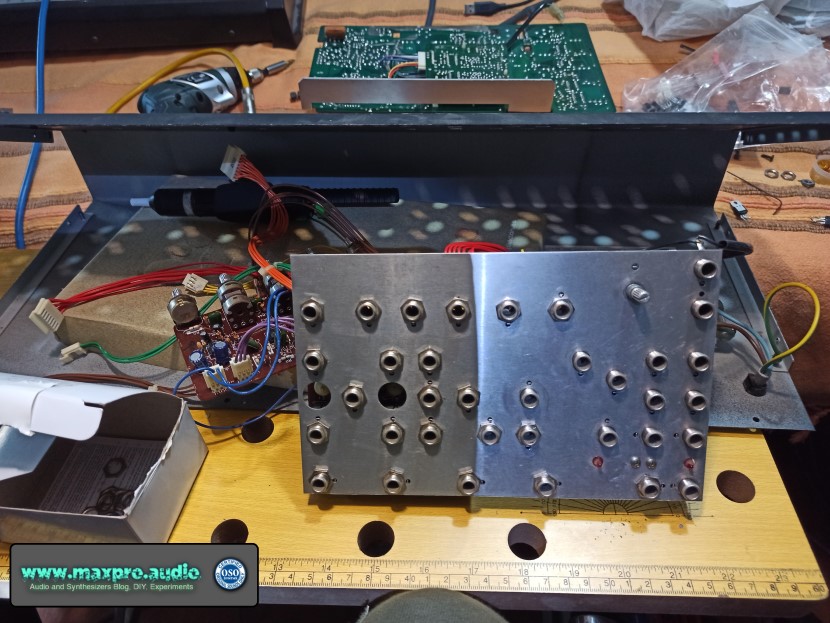

It took a couple of weeks to “unravel the problem”, check what the hell was wrong with it and try to figure out why the previous attempts had failed.
Lacking power to one of the rails, I imagined there was a problem in the power source, but the fact that the technician hadn’t success, made me waste lots of time “looking” around. Eventually, to my horror, I discovered that the culprit for the inability to repair the synth was the technical manual, which unexpectedly contained an error!
Yes, I understand that it seems impossible, but it is like this: The “sacred text”, obligated reading and time saver of every technician, seems like impossible it has not been studied in detail and made “perfect” … I could not believe my eyes!
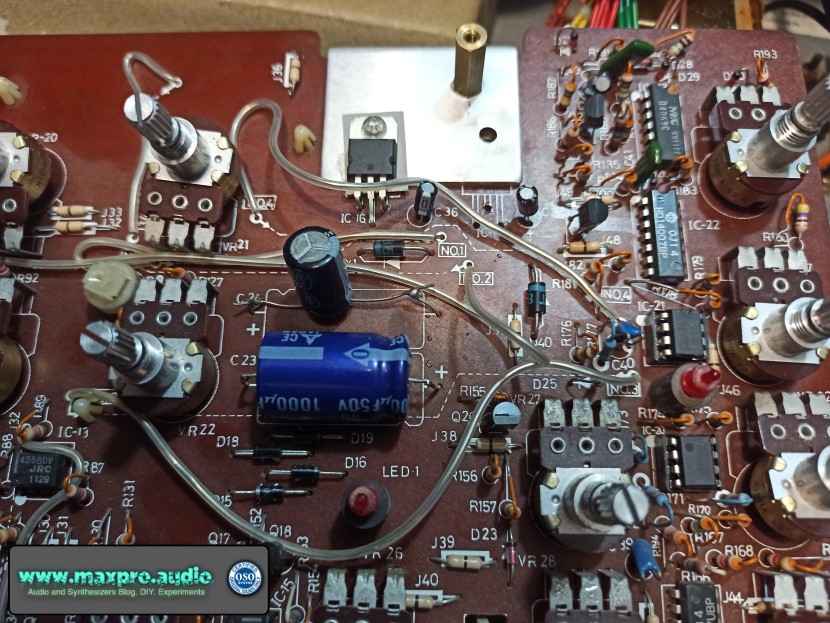

The reason is that, the only technical manual available on the internet about the synth KORG MS-20, it had a strange “BAD COPY” stamped on the cover, but having been misprinted, I thought the warning was related to this aspect. Who would have thought that BAD was SO BAD! : D
Usually, a technical manual has a “layout” with the graphics of the components mounted on the board, with their relative values, a list of the installed components and the technical diagrams with the paths of the tracks and the symbol of the components. In this case, in the layout, the two voltage regulators were reversed and without a thorough study of the scheme, comparing the tracks with the real ones, the diagnosis would have been that of my technician, “non-repairable synth“.
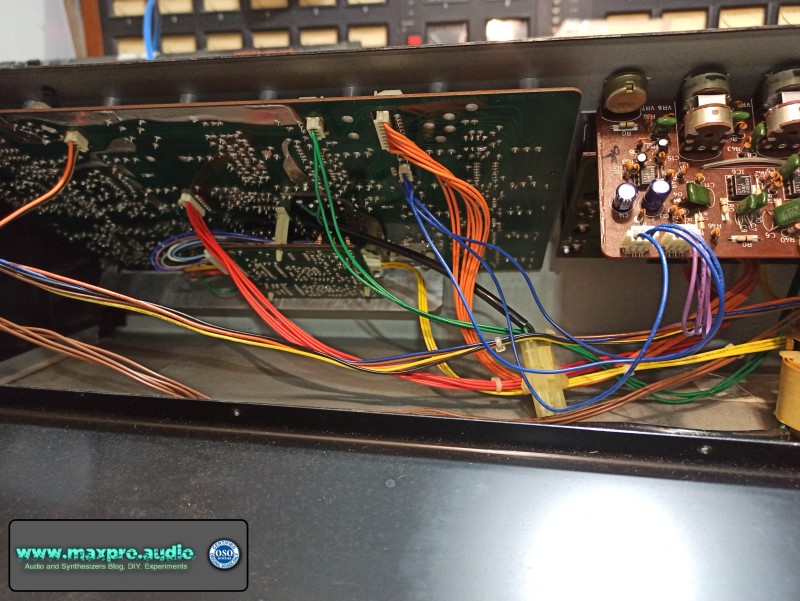

Once the trick was discovered, it took a few minutes to “resurrect” the synth. You cannot imagine the happiness of seeing the mini-LED of the LFO flash again, to remain still in a metaphysical environment, “after the long death!”

(2021 Massimo Belladonna – maxpro.audio)

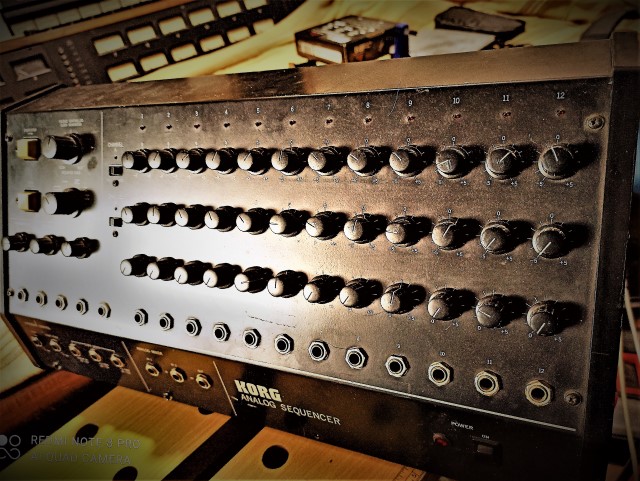
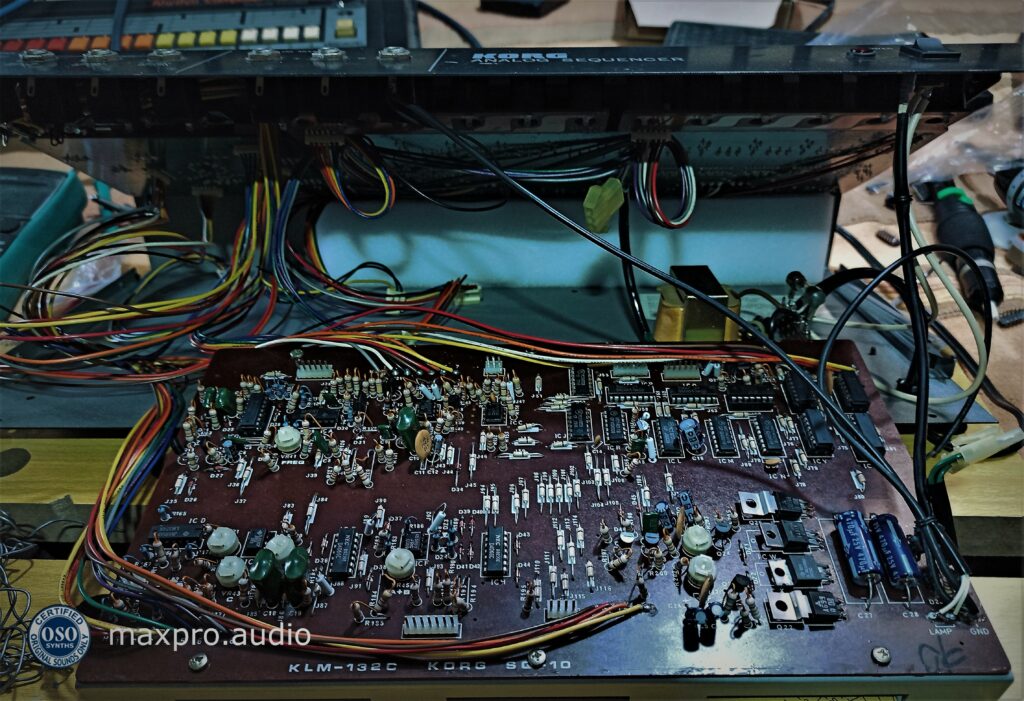
KORG SQ-10 Analog sequencer, DIY repair

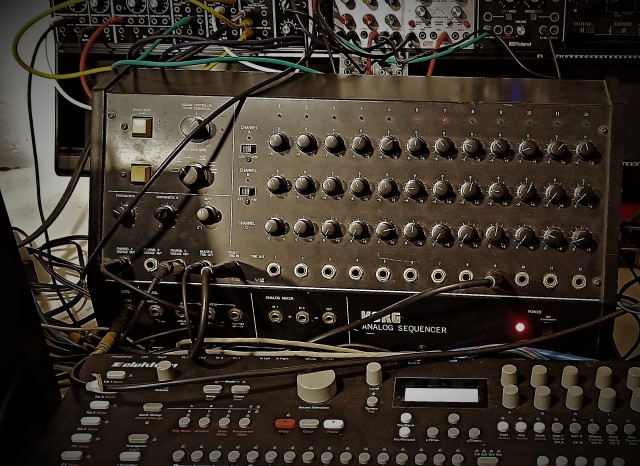
I recently discovered to my horror, that my sequencer, the old KORG SQ-10 could no longer be synced to MIDI through the KENTON Pro2 MIDI/CV interface’s ARP CLOCK signal, as I used to always do.
With the useful MS-50’s VU meter, I could see the interface voltages arriving in good health, but no way, the old sequencer didn’t want to go back to work and follow the sync signals.
Time to get back to the action with another “on the field” and completely DIY repair!

Opening an instrument of almost 40 years ago is always pretty annoying and time consuming! If there is something that certainly demonstrates the evolution made in hardware production, it is, apart from the standardization, certainly hardware and enclosures design:
Old machines often have enclosures that take a lot of time to open and inspect for maintenance. The KORG SQ-10 ANALOG SEQUENCER, has an infinite number of small screws to align with the frames and it is very easy to go wrong and have to disassemble a panel again to make everything fit. It is certainly better to have an electric screwdriver and a lot of patience.

At a first analysis of the circuit board, no current could reach the negative 7.5v rail test point. Restored the voltage after having changed a couple of power transistors and electrolytic capacitors, with disappointment, I noticed the sequencer still couldn’t sync to the trig sent by the Roland TR-808 electronic drum machine. It has been necessary to swap some transistors, replace some electrolytic capacitors and check a few integrated circuit chips, in the areas of the CONTROL and RESET circuit, to have back the sequencer to syncing to the main trig, mission accomplished! :D

Testing the machine a little further, I discovered a very interesting function, I had never tried before:
By sending the ARP CLOCK signal in the START / STOP jack, instead of the usual STEP input and selecting the second loop mode in the front panel, it is possible to loop a variable number of notes, all in the same time interval (one beat), up to the maximum of 12 steps. This allows, to play with unusual and odd sequences, still being always synced in time.
The CLOCK SPEED LINEAR IN jack allows you to control the number of notes emitted, remotely. By connecting it to an LFO or an envelope generator, it is possible to create really complex patterns.
Really an excellent analog sequencer, KORG should consider building a remake of the SQ-10, soon!

CRUMAR Spirit, vintage analog synth repair

It has been hard to find the time to write, this time!
I’m starting producing videos related to this blog and as my knowledge in video editing is absolutely basic, this means long preparation times. Lots of things to learn so most of the time usually dedicated to music had to be diverted in watching instructional videos.

Finally, after too long, I decided to turn the Crumar Spirit, a first 80s monophonic analog synthesizer, back on to check if it was still working, given that last time it had shown signs of “tiredness”.
While recording a video, I realized that something strange was going on. Sudden jumps in intonation, notes that didn’t want to play, or that sounded intermittent.. then suddenly the worst! The keyboard started emitting only the note pulses (Gate) and no longer the pitch. (CV)
..and so once again, abrupt split to the opposite cerebral hemisphere and here I am again to repair “in the field” my junk!
Inspecting the interior of the Crumar Spirit, the first suspect was certainly the Input/Output board, where the CV/Gate data enters and leaves the synth. And in fact, the culpable was found there! At the height of the connector, a track of the circuit was broken, perhaps due to the action of the connected plugs, over the years.
With a simple bridge, I was able to repair the circuit and bring back into the Spirit, its spirit!

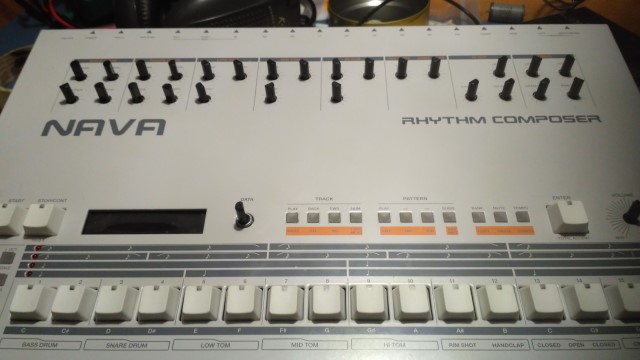
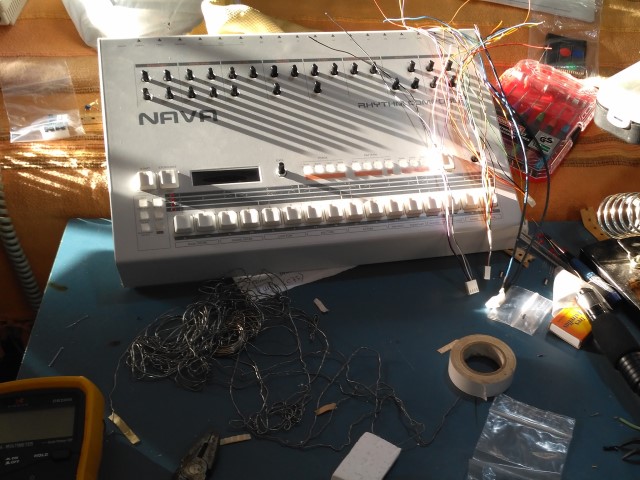
NAVA, DIY Roland TR-909

Nava DIY Roland TR-909
NAVA Roland TR909 clone

Done, it is finally alive !!!
Ufff, it took me a lot of time, but surely it was worth it! Finally, I have in my hands a Roland TR909 as in the old days. The sound is identical because this is a real clone, the appearance not precisely the same, but similar enough to fade the memories and fully create the illusion.


I bought the kit two or more years ago, but because of some laziness to start a project of this size and the delay to reorganize and restore the studio, which could no longer be postponed, I only had complete it now.
The NAVA is a clone of the classic Roland TR-909 drum machine, offered by the e-licktronic site in the DIY kit form:
http://www.e-licktronic.com/en/nava-parts-kit/50-nava-tr909-clone.html

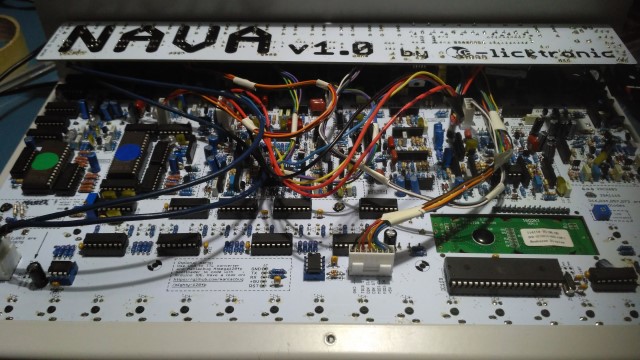
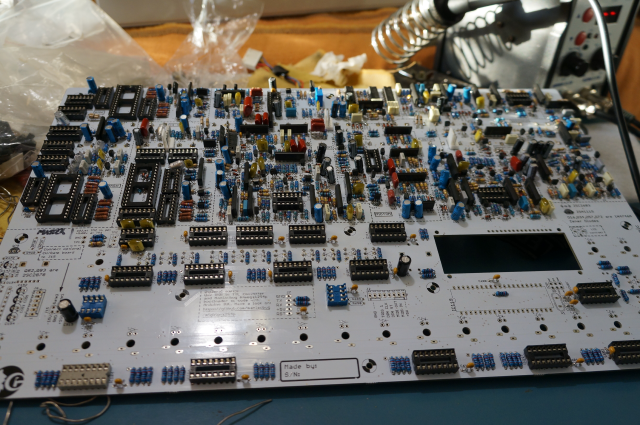
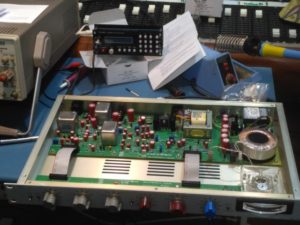
Nava DIY Roland TR-909 internal circuits
NAVA 909 insides


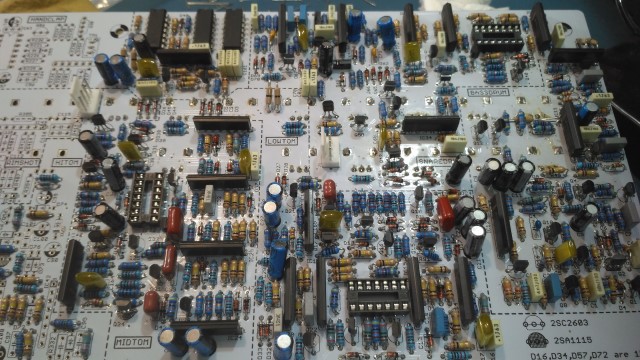
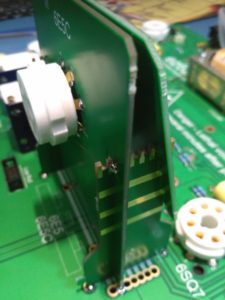
The kit consists of the motherboard and an I / O card, plus a series of transistors and ICs, which are obsolete and therefore difficult to acquire. It is necessary to buy a large list of components, but there is a BOM with a link to Mousers where a prepared trolley is already present. The project is quite complex, given the number of components and their density. The construction is even more complex as the connection points and the relative exposed copper are really tiny, forcing during the building, to never lower the attention.

Nava 909 motherboard


In fact, despite the many years of experience in DIY and the needed careful attention, the construction was not entirely easy.
At the end of the project, after days (or in my case weeks) of work, the crucial moment is always to push the ON switch and verify the presence of “life” in a new assembly. Unfortunately, this time after loading the software and verifying that the sequencer was working, I noticed that the HH was not present … OMG impossible to stay too long without that emblematic OH!
While I have no problems with the construction, not having studied electronics, diagnosing a failure is for me always a nightmare. This time, I was able to put into practice some techniques I learned on how to use the oscilloscope to trace failures. The culprit turned out to be a five pins transistor, the old 2SA798 quite difficult to find, at reasonable prices. I’ve been able to emulate it, using a couple of matched BC560 transistors, soldered together.

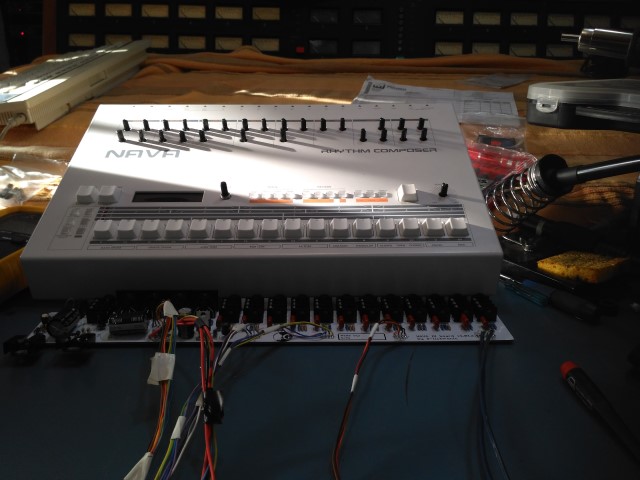
Nava DIY 909 clone assembling
NAVA, Roland TR-909 drum machine clone

ATTACK OF THE CLONES

With the imminent arrival of the Behringer’s 909 and the Roland virtual analog reissue, we will soon be invaded by clones of this vintage drum machine, which will perhaps cause some of the magic of it, to be lost. BTW assembling with your own hands a piece of electronics with which playing music and having fun, is one of the greatest satisfactions a synth-nerd can experience. In my case, I have in my hands an electronic drum machine that I had loved a lot but then sold to switch to the, in those times new, PCM technology (a Korg DDD-1) and in the following years could no longer buy it because of the crazy prices of these units in the second-hand market.

Assembling the NAVA 909

Below you will find some of my tracks recently released, using the NAVA Roland TR-909, thanks for listening:

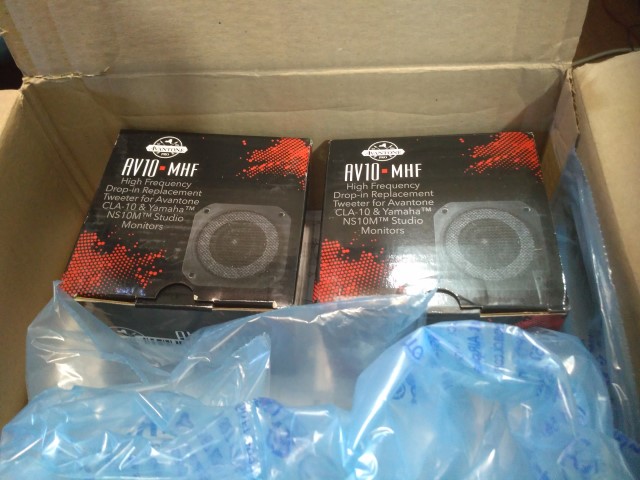
Yamaha NS-10 reborn, Avantone Drop-in Replacement Tweeter

Yamaha NS-10 reborn, Avantone Drop-in Replacement Tweeter

It was long my Yamaha NS-10 monitors had both tweeters dead, I love these speakers so much that I was costantly thinking on fixing them, but didn’t want to spend a fortune. Unfortunately, the blown tweeter is a very common issue with these monitors and as the NS-10 remains an indispensable tool for lots of people, the original tweeters are still in high demand. As the NS-10 speakers are no more in production that is long already, finding parts was getting pretty hard and the originals, reached very high prices. This is the reason that forced me years ago, to buy a pair of Yamaha MSP-5, monitors that I love very much, but that are not “my” NS10s.

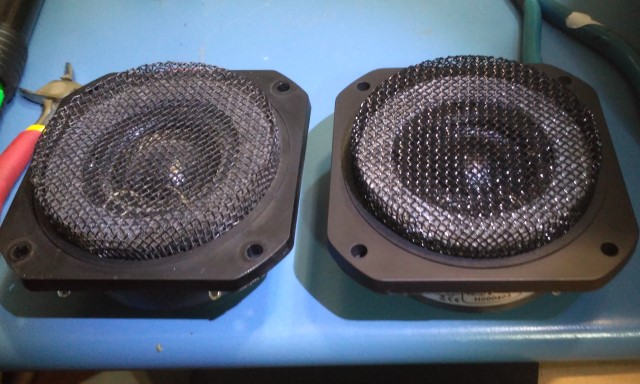
Last week, with great surprise I discovered that Avantone Pro, the company of those classic tiny monitors, are selling identical copies of the original NS-10 speakers and at a really attractive price. After reading all I could and watching a few videos, I decided this was the best way to go and wanted to give a try to these replacement tweeters. I bought mine through a big online shop at 122 euros each, really a fraction of what I could have spent for NOS Yamaha NS-10 tweeters.

As promised the replacement is a drop in, there’s no need of adapting anything, the shape of the replacement speaker is identical to the original. All is as simple as soldering the speaker cables to the new tweeters and screw the tweeter back into the monitor.

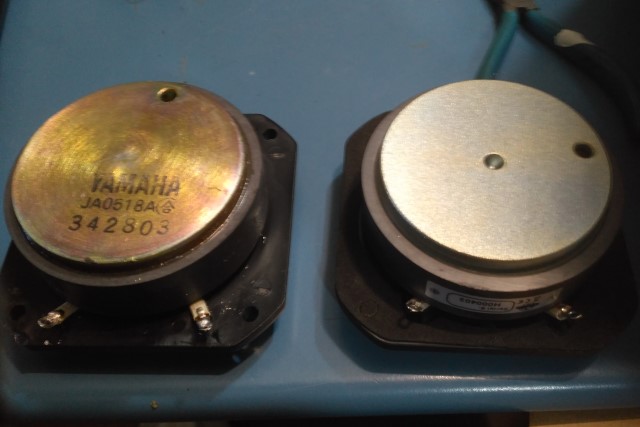
I’m surprised at looking how identical to the original these tweeters are, all details are exactly the same, only the ring around the tweeter dome, has a slightly lighter grey colour. Is it this the difference that allows Avantone to clone the Yamaha speakers, without copyright infringement repercussions? Sure you understand I’m just kidding, I’m sure if they can freely sell a so exact copy, these details have been cleared already.

Original Yamaha tweeter on the left

After the installation and the promising sound test, I’ve been mixing for several hours, completely forgetting I was doing so on the new tweeters, perfect prove that I was feeling absolutely confortable with their sound!

I’m very happy with this upgrade! :)

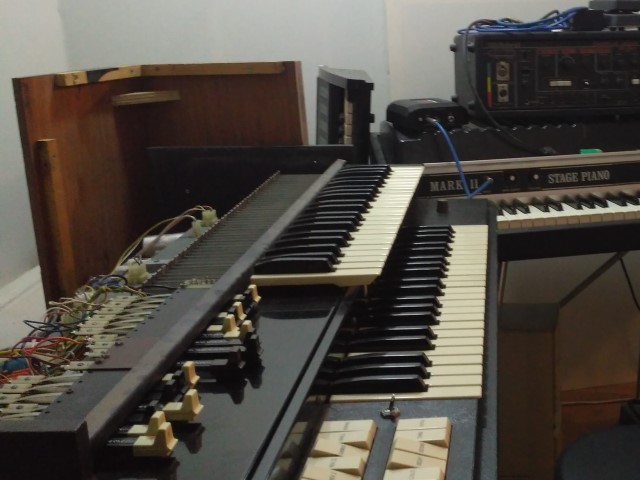
70s Electromechanical Hammond L-100PS, Maintenance / Repair

My initial intention was to include this post in my “The Dark Side of Vintage Machines” series, but reflecting more, there really wasn’t anything dark on such a simple action as adding lubricant to this super heavy, but solid as a rock instrument, to bring it back to life!

I must admit that I’ve been lazy and recur to virtual instruments when I needed an organ sound, for too long even having the real thing. The plugins level of fidelity in reproducing the classic tonewheel sound, has reached an impressive level since a long time already. It might look like a sterile excercise, going back to record from the original instruments, when this process has been done with extreme care from team of experts several times in the last decades, to bring us such great sounding virtual instruments, so easy to use. An organ keyboard not being sensitive, can be imagined like a series of ON/OFF switches, this way the interaction with the instrument interface can be easily reproduced today, using a simple MIDI keyboard, better not weighted.

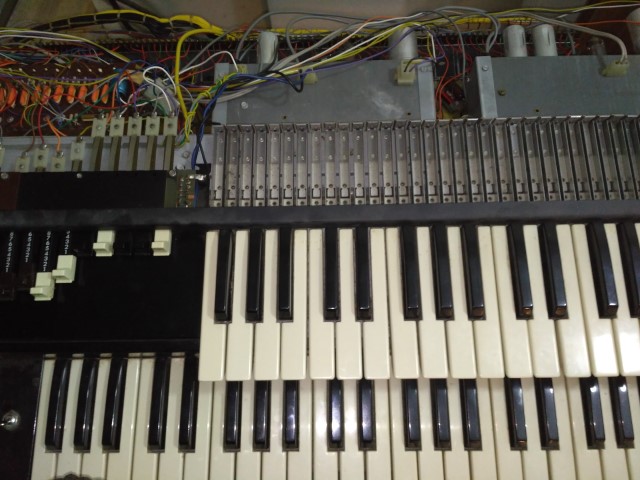
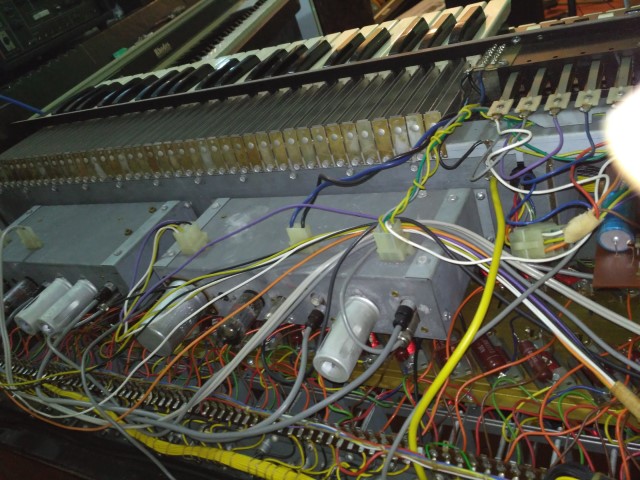
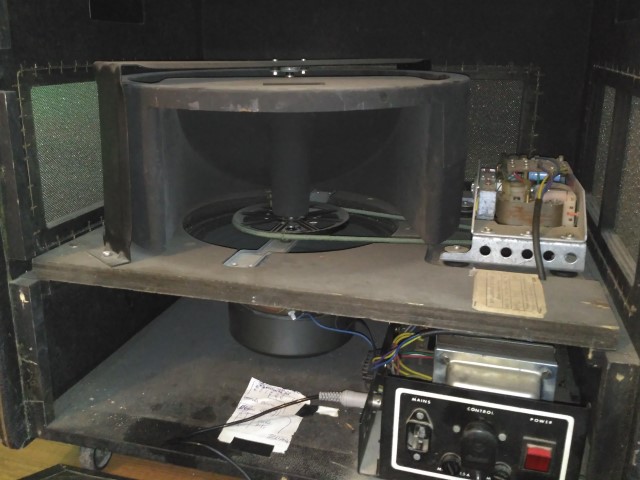
Bringing back my old Hammond to life, could have meant spending tens of hours of care and possible frustration, in case of unsuccess. I switched it off last time many years ago, when almost all of it was working, but it was already in urgent need of oiling its internal mechanism with the once rare to find, but now easily available on internet, “Hammond Oil”. Its rotating speaker amplifier, an Italian transistors pseudo “Leslie”, was in a horrible state too, roaring as a jet at take off, when switched on.

Hammond L100PS

I could have avoided the stress of the repair once again, resisting to my conscience that was pushing me towards being more responsable and keep my instruments serviced, with the excuse that it is pointless to spend energy to have something only a little bit better sounding. This time I had a deep sense of nostalgy for my organ, who had been with me for almost all my life and I had loved so much and a sort of sense of responsability, towards this piece of technology of big mechanical complexity, possibly extremely difficult to manufacture again, today.

I don’t want to be too boring, just let me add a little story as it can be funny..or tragic? :D

My first organ was a transistors Farfisa, a way more technologically advanced machine, with respect to a classic tube organ like the Hammond, it could even emulate the gliding of a synth, with its “Synthslalom” function! :D I knew already the old electromechanical organs were particularly sweet sounding, but couldn’t imagine that even a humble spinet size keyboard like the L-100, was a real killer, able to recreate the sound of the progressive rock organs I was so crazy for, until I had to occasion to test an used one at a shop in my city. The price was extremely cheap, as nobody wanted to carry such a heavy “portable” instrument around, or buying for home an ugly looking keyboard with just organ sounds when, for the same money, they could have bought a huge wooden console full of colored lights, a drum machine and plenty of inspiring buttons like “Bassoon” or “Tuba”!
The occasion was great, but I was still a student and completely budgetless.

Making a formal promise to my parents that I would have been a very good student, I could convince them to finance the money the shop wanted. The thing worked and for a while I could enjoy playing day and night my real Hammond, through its amazingly sounding, wooden tube Leslie amplifier.

The day I knew I had failed school’s exams I was already in a horrible mood, this become a day of mourning, as soon as returning back home, I realized my Hammond had disappeared, brought back to the shop by my parents, as my promise to be a good student hadn’t been respected.

I’ve been lucky that prices remained pretty low for over a decade, until I could find one more “P” (this one is labelled L100PS), that having a job already, I could afford, the one I’m telling you about on this post.

Hammond L100PS without cover
Hammond L100PS insides

instead of being a painful process, I found my Hammond, once oiled and switched back on for the first time after a decade, in a pretty good shape.

What resulted more problematic, was fixing the rotating speaker amplifier, that once on, used to start screaming as crazy! Substituting a few capacitors and transistors, fixed the problem and helped reducing its always being present hum noise, very much.

Cosmosound rotating speaker amplifier

On my new track “Tonewheel” on Soundcloud:

I recorded it with a pair of MD-421 and simulated the Leslie tube saturation, missing on my transistors amplifier, passing its recorded signal through my recently built pair of Fairchild tube equalizers.

The Dark Side of Vintage Machines, Trident Series 80b fail and repair

I believe today analog consoles are seen by many as bulky, unbelievably thirsty of energy and continuously in need of maintenance items, in practical terms, obsolete tools.

The tendency, in the last decade, has been to abandon the traditional mixing desk in favor of virtual mixers or “control surfaces“: Focusing on  quality converters with as many as possible inputs and hardware gear, like equalizers and dynamics processors connected to a patchbay, to combine at wish.

This choice has great advantages in terms of variety of sound and physical space, considering that you buy only the modules you really need or like for your usual session, possibly with different audio “colors“, to have a wide sound palette, instead of lots of identical channels as in the classic console.

Of course I agree with this approach, but limited to the phase of recording. I find the classic surface controlling and placement of knobs, ergonomically ideal, being the result of decades of “evolution” in mixing down techniques in analog. For this reason digital control surfaces mimic the shape and workflow of the analog desks. When you start working out of the box, is way more comfortable to have easy access and visuals of the parameters you are adjusting.

Having an analog mixing desk, forces you to a sort of marriage to your equipment, your mixer is the heart of the studio, it will imprint its own sound and needs all your care and attentions and the older, the more care it will need.

It is annoying to find your preamplifer is broken, but having a failure in the mixing buss of the mixer, for example, forces you to do an immediate repair, or you will have no music at all!
Big mixers are modular for this reason, studios always had modules in stock, to swap them with already repaired ones, in case one of them was failing.

Trident Series 80b, Remix slider


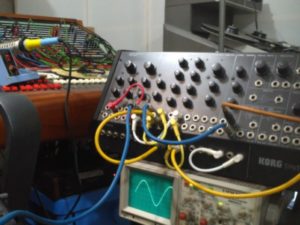
On my Trident Series 80b, its oscillator needed to detect the failures, was broken, it couldn’t generate a sine wave anymore. Instead judging from the scope, it was generating a strange saturated square waveform. I will do what is possible in the future to fix it, in substitution the old Korg MS-50 oscillator has been useful as lab tool once again. This time I used its oscillator, rounding a triangular waveform through the LPF, to obtain the sine wave I wanted for the tests.

Korg MS-50 Synthesizer, used as test lab tool

One of the problems the console was having, was a false contact somewhere in the remix buss, making at low gain, from time to time, disappear the right side of the stereo mix. The Trident Series 80 has plenty of TL-071 opamps, spread everywhere on its circuits. Usually if there’s something wrong in the signal, those are the first components I learned must be checked.

Trident Series 80b, Remix Buss card connections

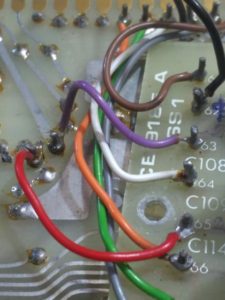
This time, the culpable for the Remix buss fail, was a wrong peeling of the wires that connected the mix buss card with its motherboard  (Echo Aux module) made sometime in the past. Because the copper core was cut too much, part of its filaments must have been lost with the shaking, during the various repairs in the last 35 years and the connection on both the positive audio rail and ground, was extremely fragile and intermittent.

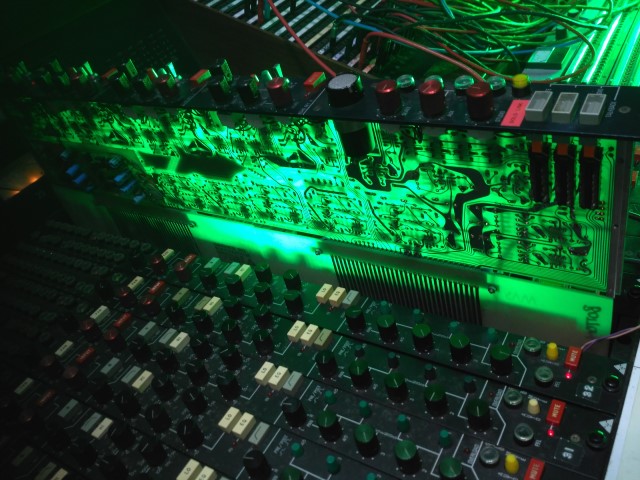
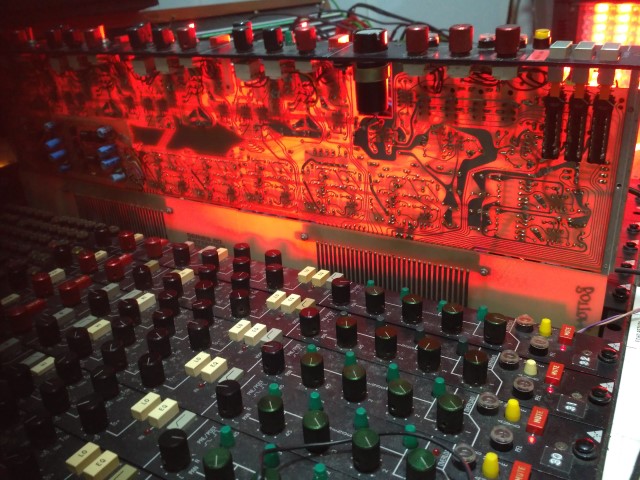
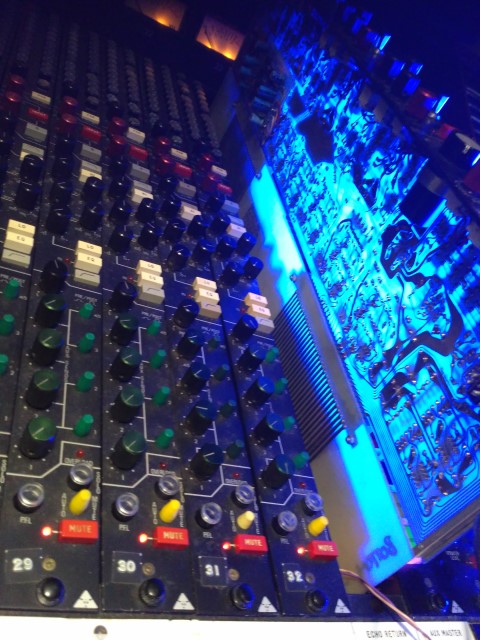
While illuminating the mixer’s board with a strong spotlight, I realized for the first time that the resin the PCB is made of, is transparent. We are used to the squared,  mostly made of straight lines, tracks of the circuits of today, sure ideal for the mechanization process in their production. Looking at old circuits instead, I’m always fascinated by the “organic” shapes and in a certain way artistic, tracks “style”!

In all these years mixing ITB, I’ve been continuosly dreaming to return to mix in analog and to do so, try to remain as close as possible to the classic 70s and 80s studio setup.  Thanks to the energy put in the last several months, I could restore my old Trident console, fix its patchbay and slowly move from a recording only setup, to a complete production and mixing studio.

The Sound Is In The Iron, DIY Neve 2254 Limiter Compressor

To upgrade my studio to the new production and mixing setup I’ve been dreaming for so long, I needed a few more hardware processors, like equalizers, reverbs and compressors. Several years ago, I built a IJ Research Neve 2254c (a DIY stereo or dual mono Neve 2254, with the sidechain circuit taken from the Neve 33609) and still being enthusiast for its sound, I wanted something similar, without having to spend a fortune on a “real” AMS Neve 33609 stereo compressor, or on a pair of 2254R
Choosing to build a couple of AML Neve-2254 seemed to be the more logical option, hoping to have a good performance and not going bankrupt in the process.

Diode Bridge Compression

On Youtube there’s an interesting interview with Rupert Neve, explaining the origin of this family of limiter compressors and the development of their technology.

Neve was contracted in 1969 to find a substitution for the limiter compressor modules installed on Pye (Philips) mixing consoles at ABC TV, who promised buying a big number of units.

Rupert Neve used a diode bridge as control device, as he reports on this interview:
“The diode is a non linear device with a huge amount of distorsion but if configurated as a bridge, distorsion lowers considerably.  “So you can apply audio across one set of contacts and you apply your control voltage across the other side, it’s a classic bridge configuration. And by carefully choosing the limits of control and signal, it gave a quite good account of itself “

Neve developed the device implementing parts of their products already in production, as the line amplification section was the same as the famous Neve 1073 microphone preamplifier. The original 2252 developed in the successful 2254 and in the stereo 33609.

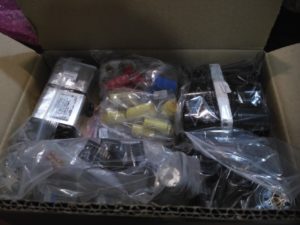
AML 2254 kit

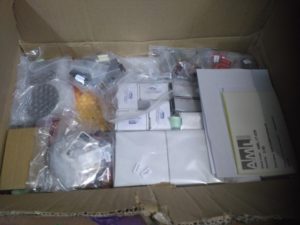
As I recently wrote about an other one of their kits, I want to be clear that I have nothing to do with AML, apart from being a happy customer. Based on my previous experience with this company, I expected the kit not to be too hard to build and all the parts of the best quality. On this aspect, I had a confirmation once received the box from the postman. Holding it, it was so heavy, this could only meant there was a good quantity of IRON in that box! (more later)

Unboxing the AML Neve 2254 Compressor Limiter

As expected all parts were carefully sealed in separate labelled bags and the texts on the boards, were easy to read

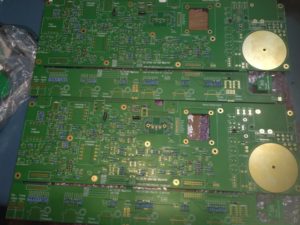
DIY Neve 2254 PCB

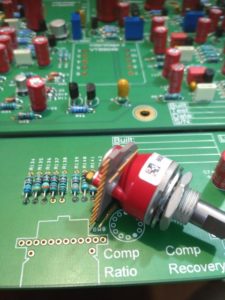
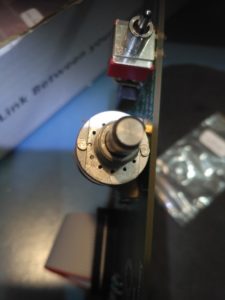
The front panel is made of high quality switches from Greyhill,  The scary part for me has been programming them. This is done through inserting some tiny metal cylinders, in one or two of the programming small holes and when I say small, I mean almost impossible to me to see, without proper magnification lens.

Greyhill Switches

While building the Fairchild EQs, hasn’t been easy at the beginning to complete this task. Last time, to program the switches, I tried grabbing one of those tiny pins with the wrong tweezers and suddenly one of them took off, landing somewhere on the floor. It has been hard to explain to my dog, who came running for help, what there was so interesting to stay sniffing under the table for so long!

Switches programming slots

“The Sound Is In The Iron”

This phrase supposedly said by Rupert Neve, means that iron in the audio transformers has big importance to get the classic Neve “Sound”.

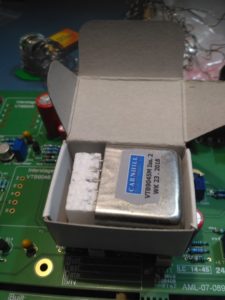
DIY Neve 2254 Carnhill Transformer

Same as the Fairchild equalizers of the previous article, AML included only electronic parts of the best quality.

DIY Neve 2254 Assembling

The Carnhill transformers included are handbuilt faithful recreations of the classic units they built for Neve, under the name Saint Ives Windings.

DIY Neve 2254 tranformers

The VU meters are the same Neve used to mount on the 2254 console modules. I like the original look, but I prefer the Sifam I mounted on my 2254/33609, as these are easier to read.

DIY AML Neve 2254 VU Meter

Included in the kit are the classic Marconi knobs, I really love them!
The part that I enjoyed less (as usual) has been building the frame. This one is solid, it works, but is more complicated to build than the one chosen for the equalizers. To be honest, I don’t like the vinyl adhesive front face neither, it looks good with a shiny white granular texture, but I’m not sure how long it can lasts and I find the classic RAF grey blue of the original, more attractive.


DIY Neve 2254 Completed

To calibrate the pair, I had to recur to the Pro Tools Signal Generator, as the new function generator I had assembled, couldn’t reach 20dBU or the 7.74v RMS required

DIY Neve 2254 Calibration

Here we are, the two DIY Neve 2254 completed, tested and now in good company in the rack!

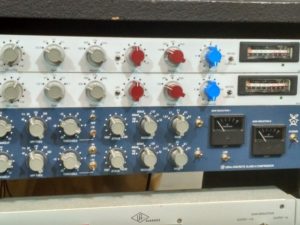
AML DIY Neve 2254 and IJ Research DIY Neve 2254c


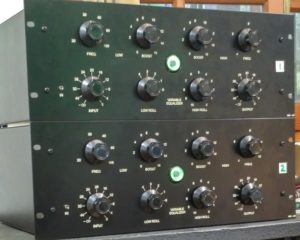
DIY AML Fairchild Tube Equalizer and its Magic Eye magic

Before finding this DIY kit on the AML online shop, I didn’t know anything about Fairchild equalizers. I knew this manufacturer was famous for the 670 limiters that I had used many times in different software reissues and that was the same Fairchild factory, building those fat Flying Boxcar planes that used to impress me very much, roaring low over my head while a kid.

Pultecs as rain

As I had no tube EQs in the studio, my initial idea was building a couple of classic Pultec equalizers clones. Sure there is no need to explain more, my typical readers can possibly know more than me about. Searching for the best way to go, I remained surprised to see how many clones or Pultec inspired equalizers exist today in the market, in the DIY or finished product form. Even big manufacturers like Behringer, recently introduced their Pultec, under their Klark Teknik brand, at an insanely cheap price.

Looking on the AML web for info on their Pultec kits, I totally fell in love for their Fairchild 627 reissue, instead. When I crave for new gear, I try to stay tight to my technical side and using logic, considering what is really needed. This brings me most of the time to fix, mod and recycle old gear still in my hands, instead of buying something brand new. OK, after decades soldering and fixing things, I can consider myself a bit a tech too, but I’m mainly a musician, then deeply attracted by fantasy and details that can look futile, but are extremely fascinating to the non-logic (illogic?) part of the mind! That green glowing “Magic Eye” on the front panel was too intriguing and it was calling for my eyes!
I had seen it already, so far in time but still, it was so intensely fixed in my memory! Like coming out from a Sci-Fi movie, the feeling was a mix of curiosity and fear, so green and scary to only possibly being an alien artifact and sure able to promptly take control of my mind! :D

The “Magic Eye”, the VU meter grandfather

Before the 1960s, needle VU meters were extremely expensive, high tech precision tools mainly for scientific equipment, telephone and military use. VUs started becoming a practicable form of measuring an audio signal, only after mass production started in Japan and LEDs made the application on consumer products, very cheap. Electron ray indicator tubes were the way to go, to have a reliable visual representation of the presence and amplitude of an audio signal. First implemented on radios to make it easier tuning to a station, they can be found on vintage tape recorders and televisions too. The magic eye is a miniature cathode ray vacuum tube, the same as the screen of old televisions, plus an amplification stage, like in usual tubes. While the rest of the “screen” (anode) is illuminated by the electrons strikes, a part (electrode) is kept dark until a signal is detected and the flow of electrons is allowed to run in that area too.

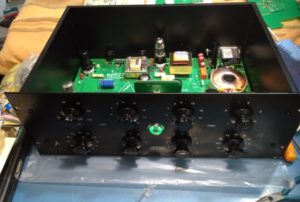
Building the AML Fairchild 627 EQ

Once the kit arrived the connection with aircrafts strangely was evident again, this time in the form of a deja vu: The PCBs were cleverly cut in the resin board, in a form it resembled me the plastic aircraft model kits so popular in my youth, where you snap off the part you need from the mainboard, through pre-cut junctions.

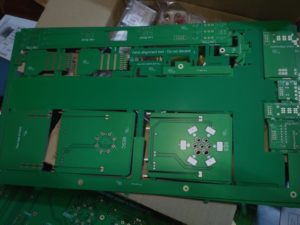
AML ez-627 PCBs

My previous DIY builds never started from complete kits, all I usually had were a couple of PCBs and a BOM (Bill Of Material) list. Often, finding the right components to buy and where can become a boring and long process. This time there was nothing to worry about, only buying the valves that weren’t included in the kit. These are pretty common tubes available easily, what I couldn’t find were matched pairs, as I would like to have installed, at the beginning.

AML ez-627 unboxing

The quality of the boards is excellent and all components locations are labeled carefully. Same with the electronics, included in the kit are quality parts from manufacturers like Wima and Vishay. The transformers are Carnhill, the same I installed years ago in my DIY Neve 2254/33609 hybrid compressor (hopefully a good theme for a future post).

Assembling the 627

Arrived at the end of the project, the two Russian 6E5C/6E5S (C is an S in Cyrillic) hadn’t arrived yet, they were lost somewhere in the north of Spain. Calling the post office they told me my “Magic Eyes” had been held by customs (?), I can imagine the officers looking at my alien-ware, guessing what the hell are those for…

Building the tower for the Magic Eye, like somewhere in Mordor…

How does the 627 sound?

Even if the choice of building this processor might having being influenced not only by technically related reasons, I’m very satisfied with the results. All I passed through my units, in a couple of days they are alive, sounds very full and warm. I only tested my new pair on bass and guitars while mixing a new song, yesterday. As frequency action, its higher band goes up to 10kHz, below the 16kHz a Pultec EQP-1A (my initial choice), can work. The 627 is not too useful for brightening the higher part of the spectrum or shimmering, but very nicely working on lower frequencies. Testing it on bass, the tone I obtained was super fat and the action way more dramatic than I expected, in seconds I had a huge synth bass ready. I had to bounce the track to free the unit for processing some guitars, but I forced myself to limit the test to them only, or I would have started passing the whole song track by track, through the 627s! :D

I hope to make a follow up to this post, with the help of my OSO http://www.originalsoundsonly.com squad, with some audio tests, soon.

Links:

Most of the information on the Fairchild 627 Equalizer I could find online, comes from this link: http://www.preservationsound.com/?p=8602

The instructions on how to build the AML version of the 627, are online:
http://www.audiomaintenance.com/downloads/ez627_colourbook.pdf