Tag Archives: repair

Vintage KORG MS-20 repair and the “bad copy” service manual errors

My poor synth was diagnosed as dead and no longer “resurrectable” (yes, resurrection is not that uncommon with electronic equipment), several years ago, already.
On the last visit by my former audio technician, the response was:
“Buy yourself a new Behringer clone, they’re not too expensive ..”


No, I couldn’t accept that my first synth was destined to be thrown away! Apart the economic side, there is another aspect that always makes me think: The old keyboards are a piece of our history, witnesses of our technological evolution and often rare survivors of other times, but not for these reasons, musically outdated. Indeed, like important art objects, they should be protected by special laws! :D

OK, joking aside, on those times, my technical knowledge in electronics was not sufficient to being able to make a diagnosis and schematics, looked to me like hieroglyphs of some alien race.


But with patience, reading texts, watching videos and consulting friends, I started to become more aware on how my old and stinky electronic musical instruments work, even inside their panels.


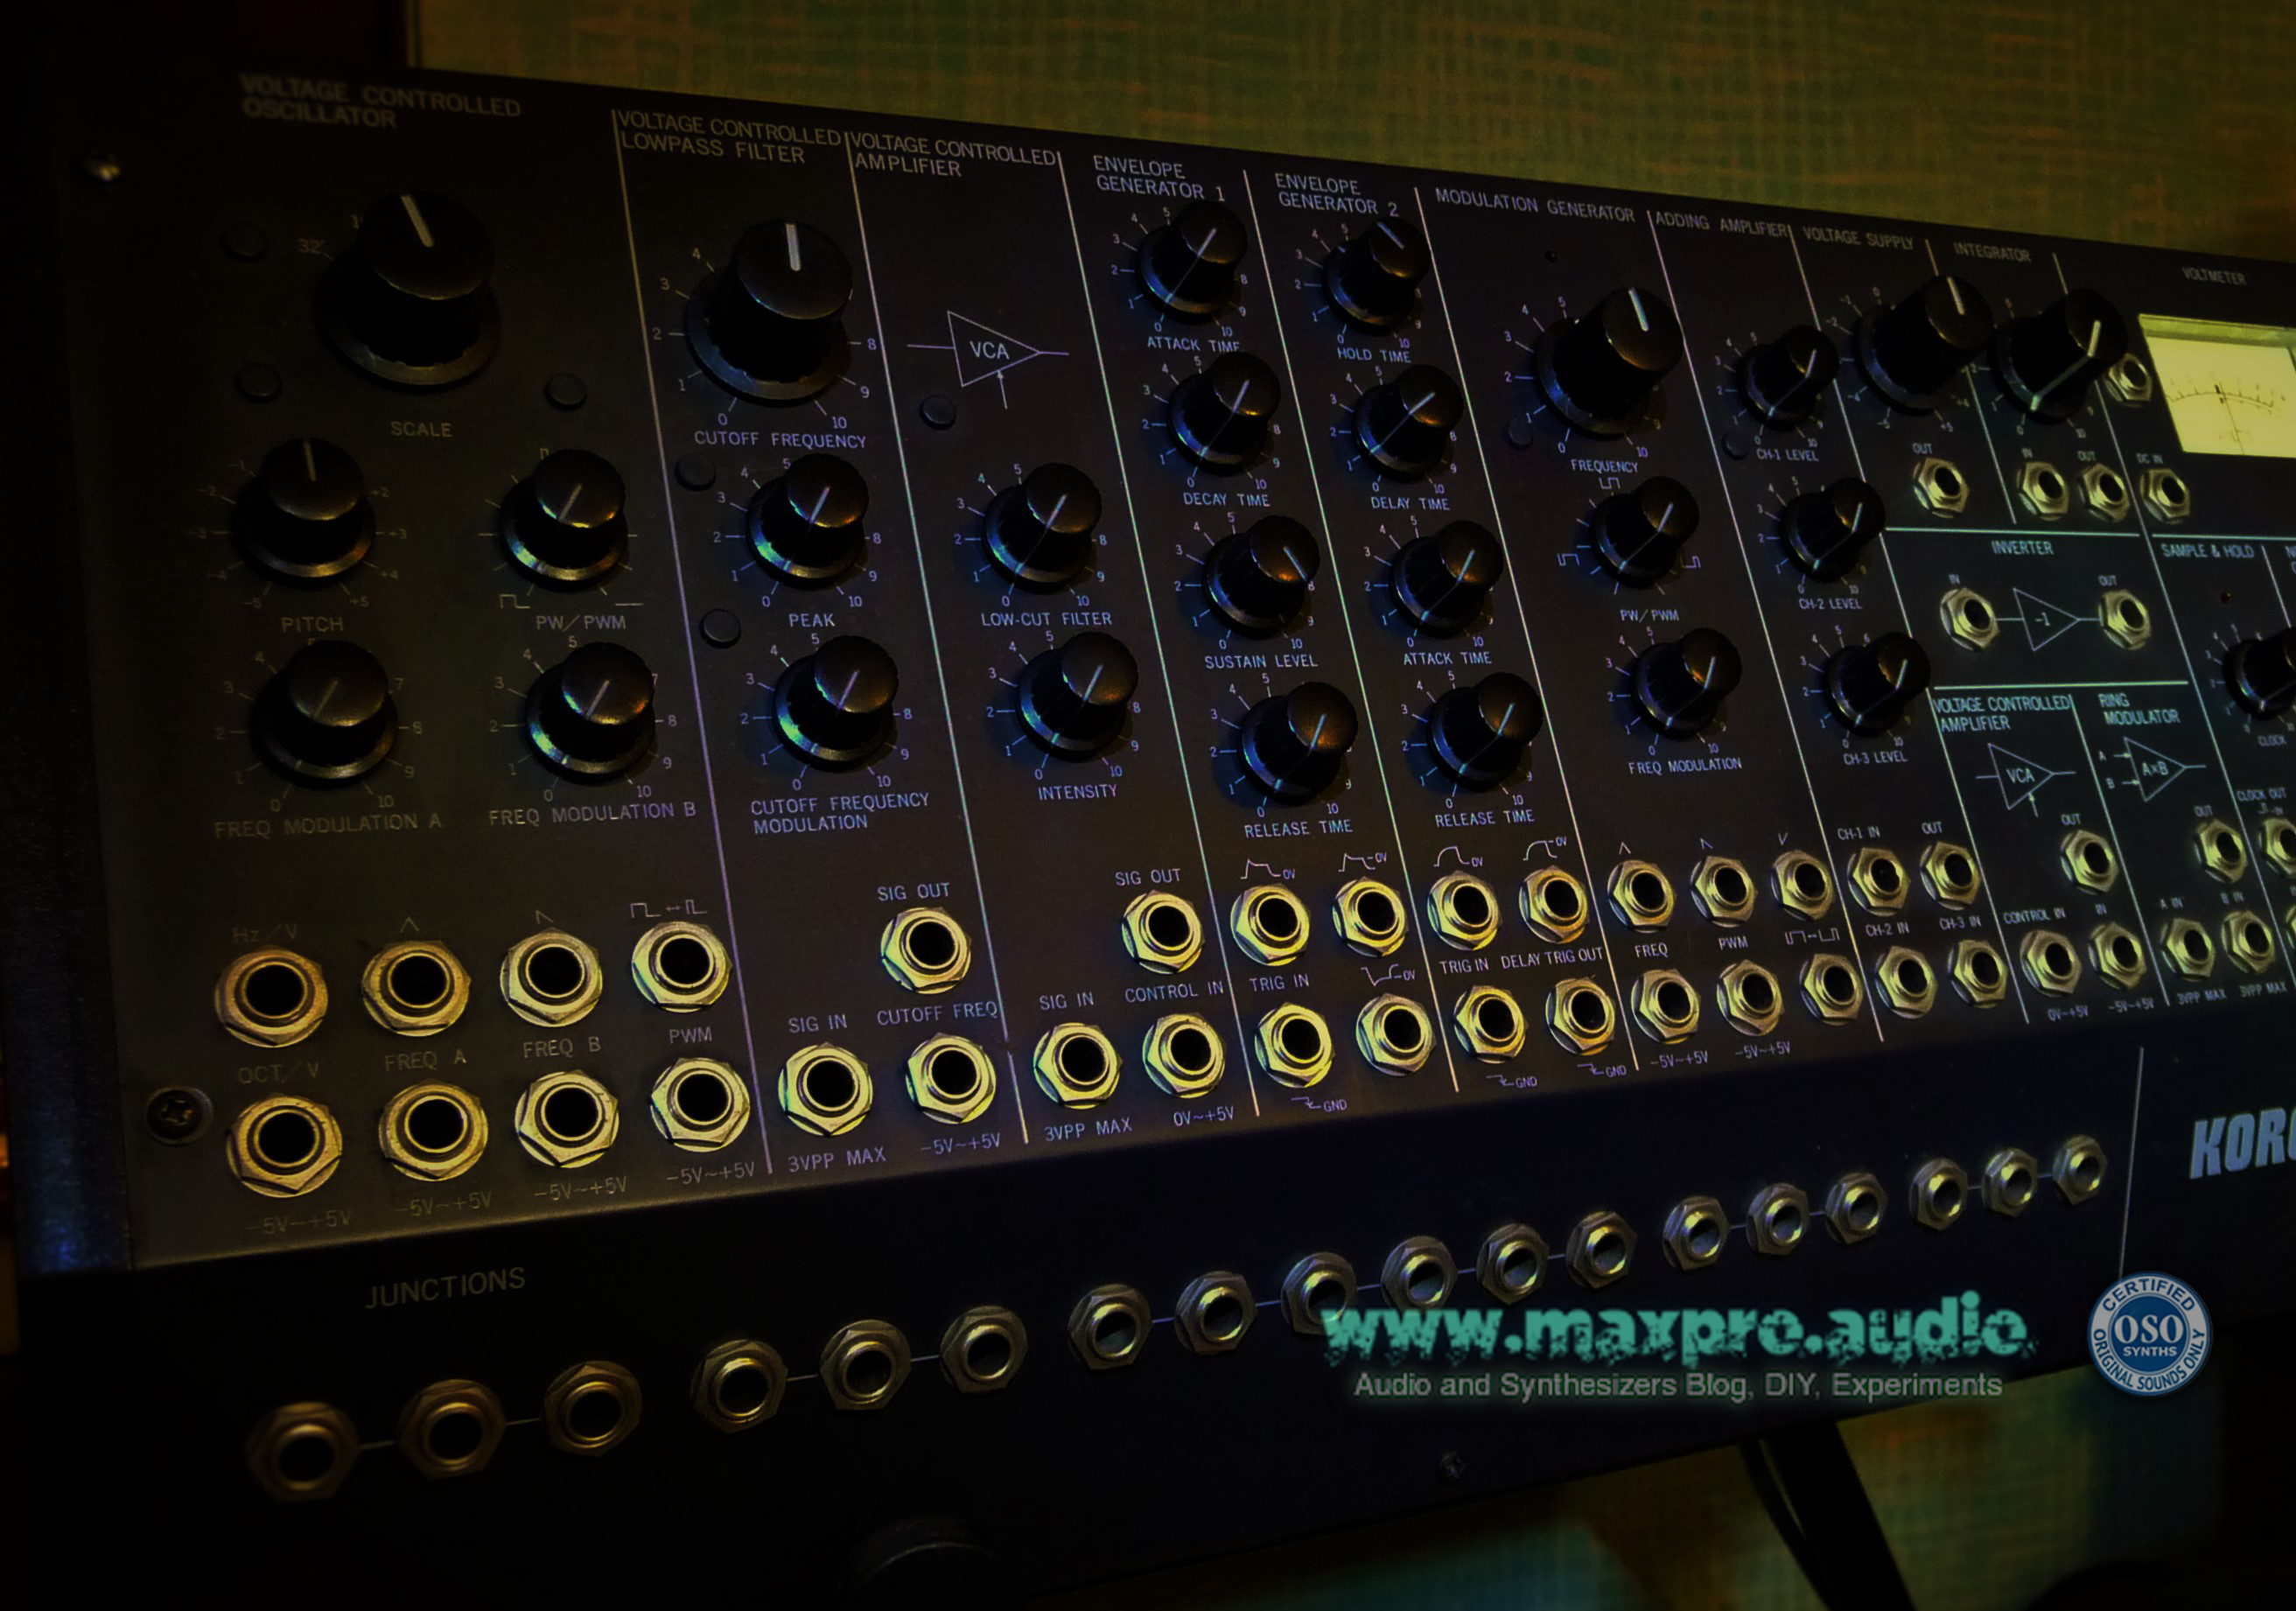
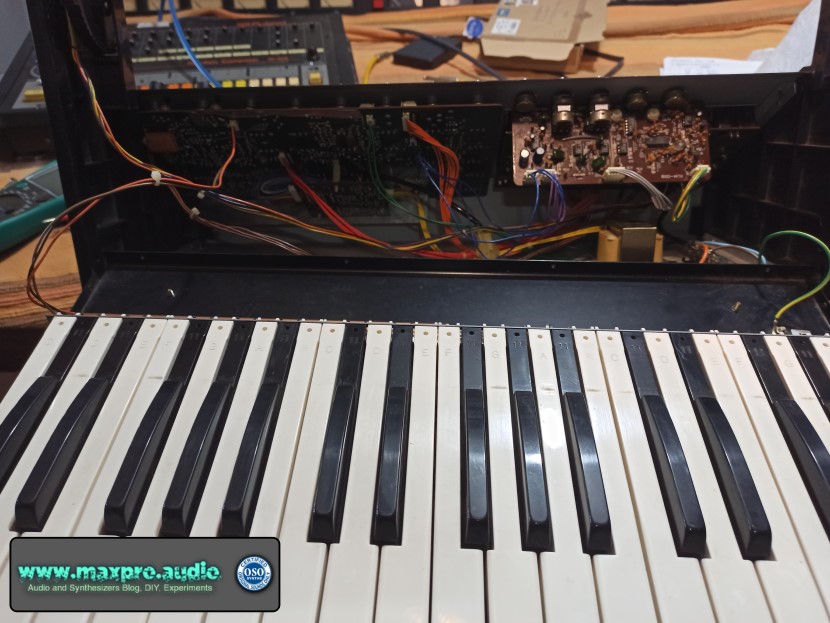
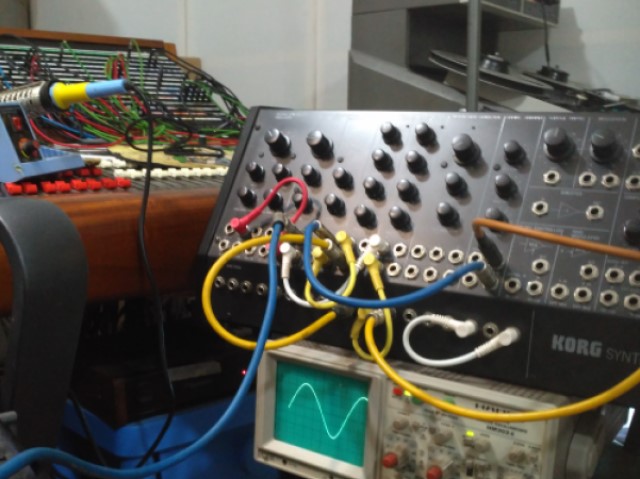
My synth remained open in a corner of the studio for very long, I walked past it without even seeing it, almost to avoid the pain of having to give up, but one day everything changed: I looked at it carefully and whispered “don’t worry my friend, we’ll be back playing together, like in the old days, very soon!” … Well, to tell you the truth, it wasn’t very soon really, but the promise was becoming true. The KORG MS-20 started always being on my mind and I was looking for information and literature to prepare myself to the repair.


It took a couple of weeks to “unravel the problem”, check what the hell was wrong with it and try to figure out why the previous attempts had failed.
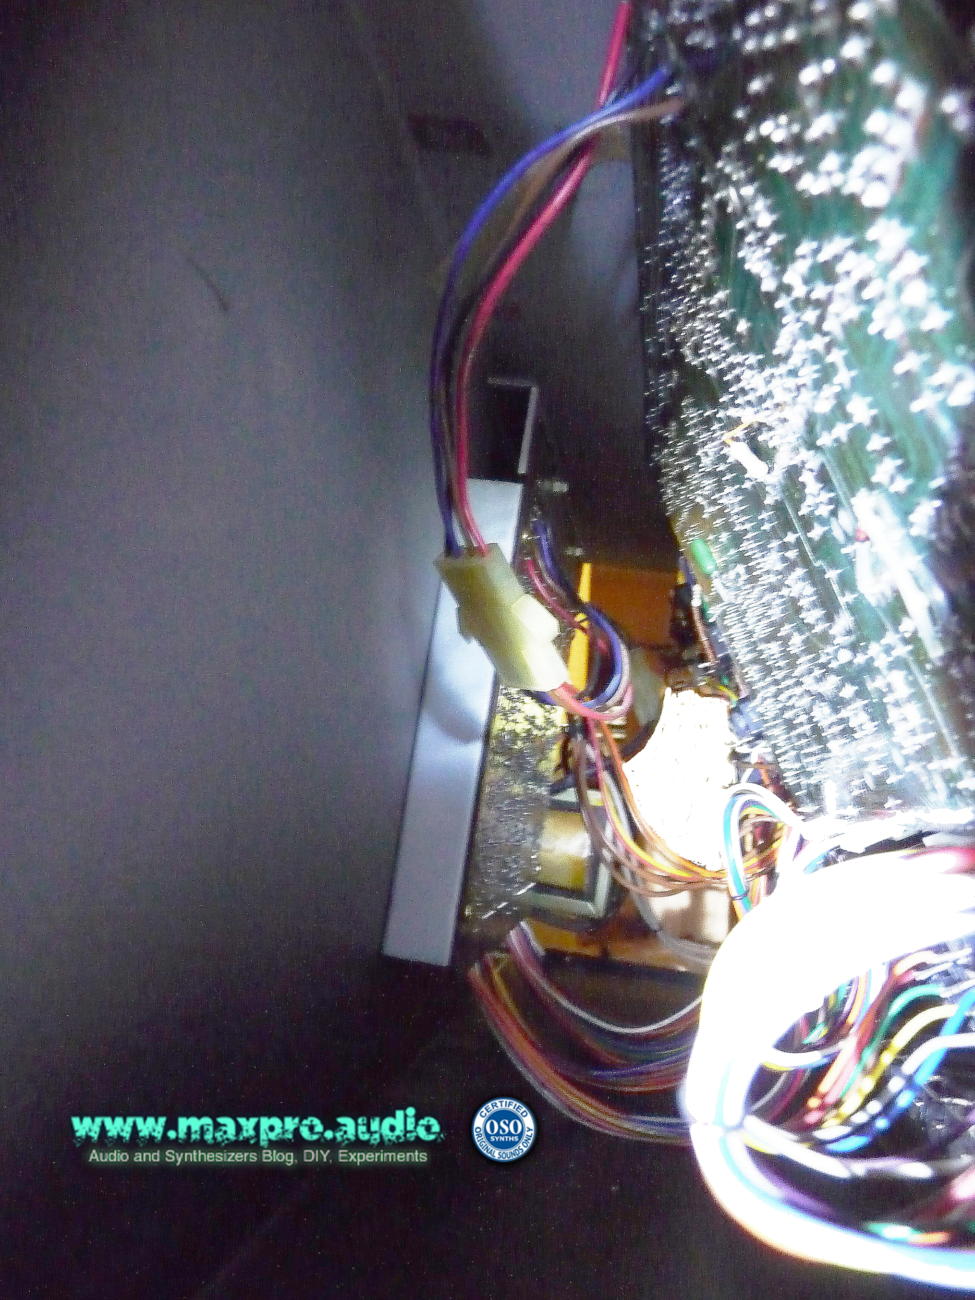
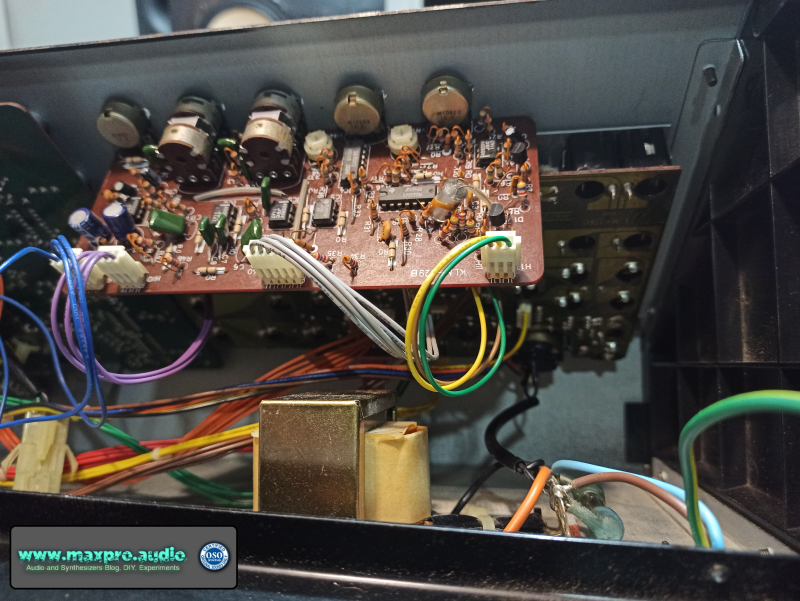
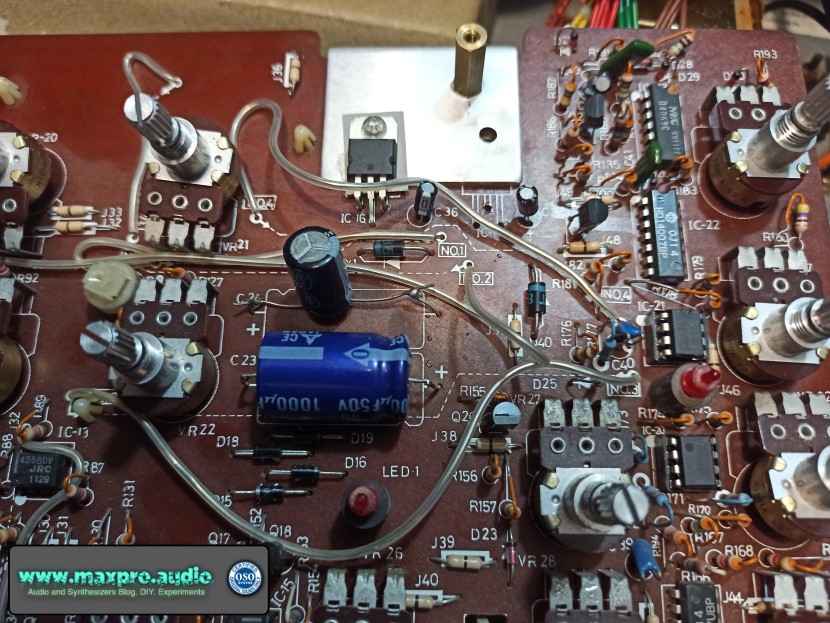
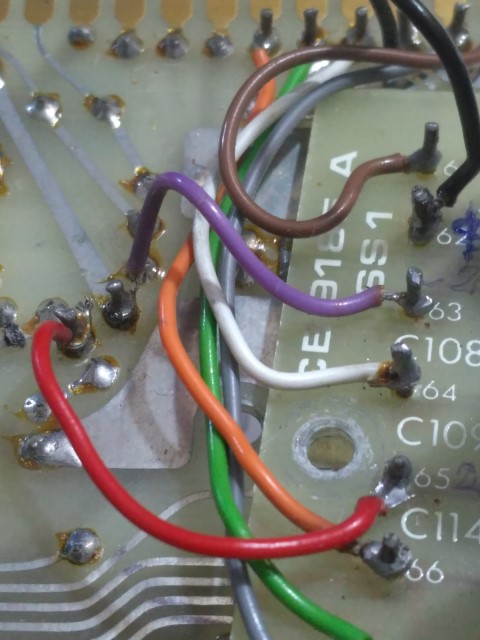
Lacking power to one of the rails, I imagined there was a problem in the power source, but the fact that the technician hadn’t success, made me waste lots of time “looking” around. Eventually, to my horror, I discovered that the culprit for the inability to repair the synth was the technical manual, which unexpectedly contained an error!
Yes, I understand that it seems impossible, but it is like this: The “sacred text”, obligated reading and time saver of every technician, seems like impossible it has not been studied in detail and made “perfect” … I could not believe my eyes!


The reason is that, the only technical manual available on the internet about the synth KORG MS-20, it had a strange “BAD COPY” stamped on the cover, but having been misprinted, I thought the warning was related to this aspect. Who would have thought that BAD was SO BAD! : D
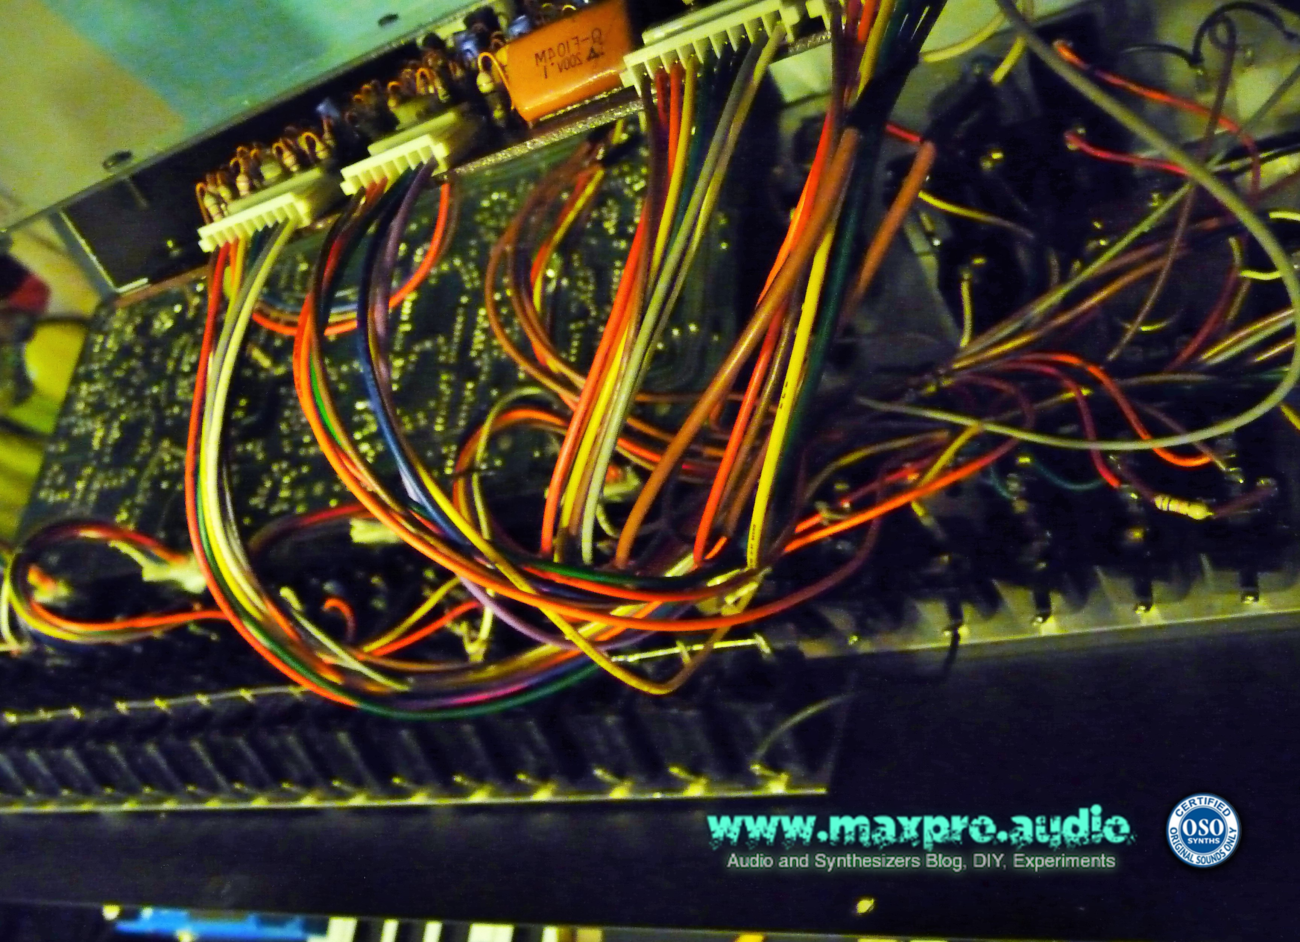
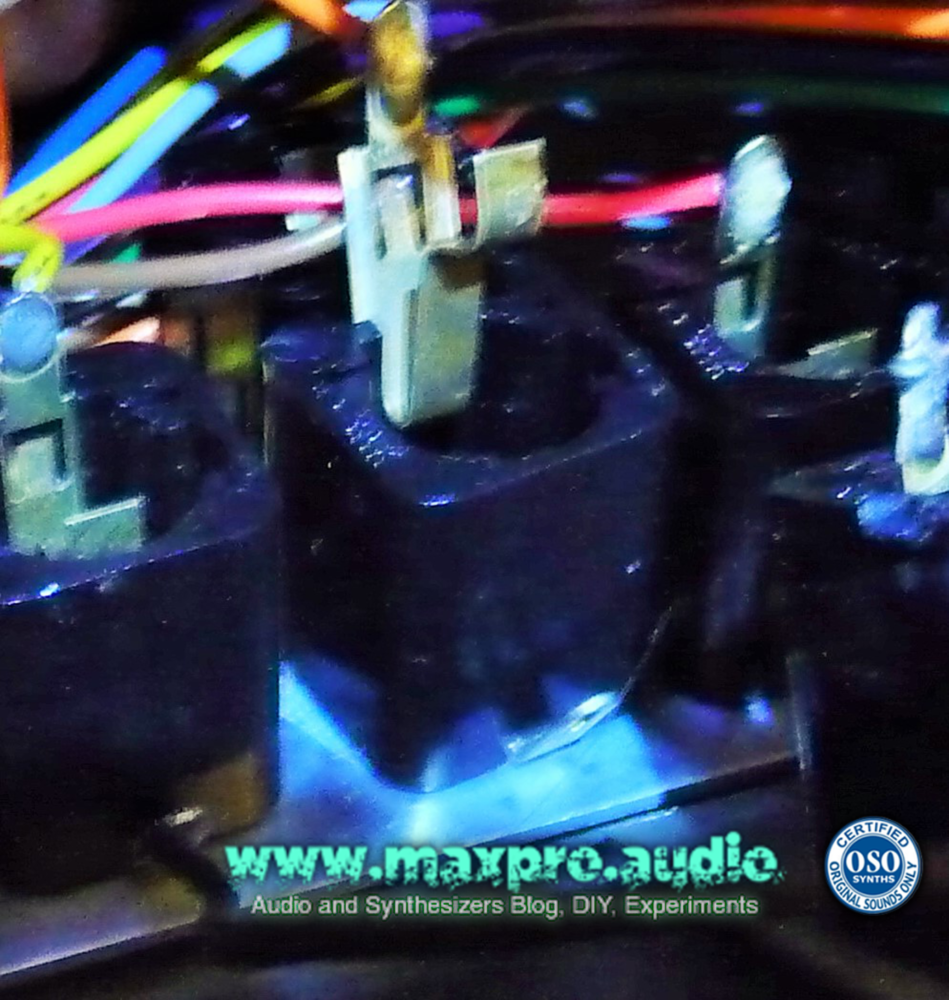
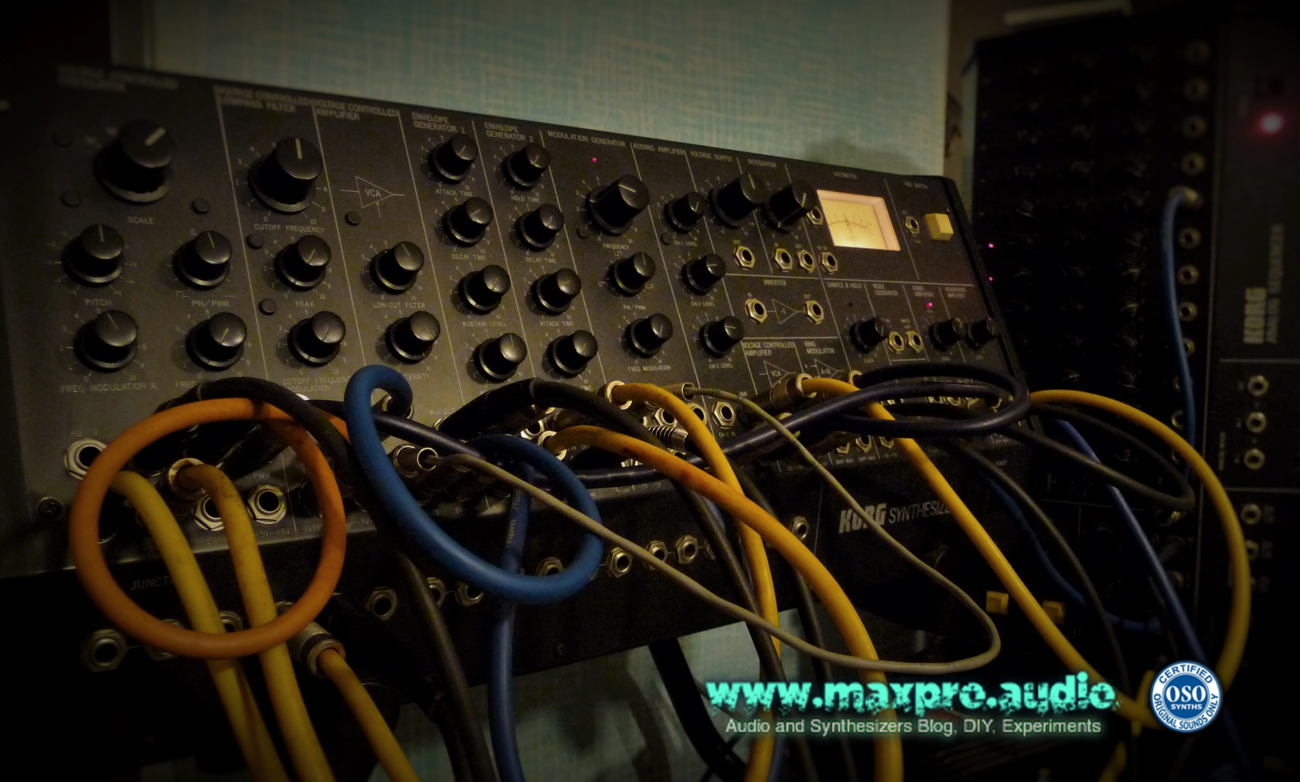
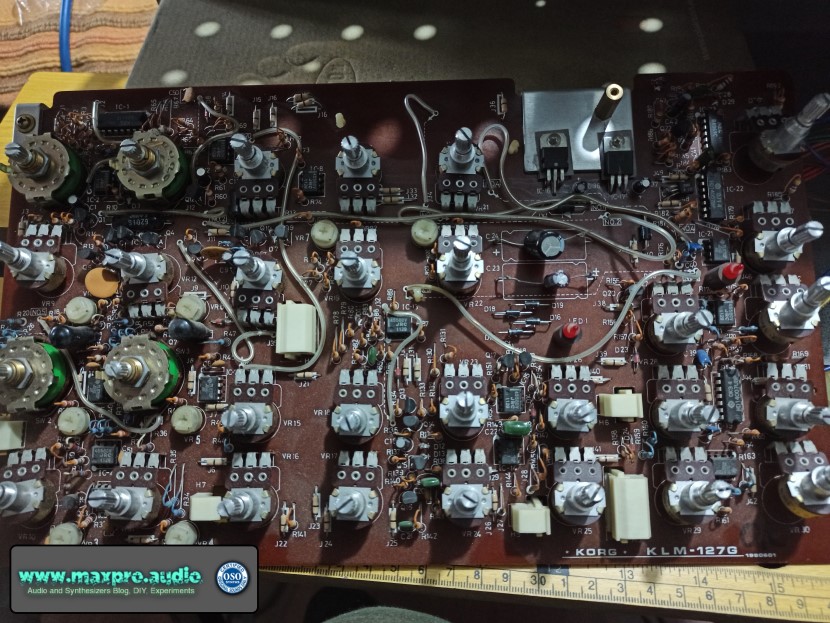
Usually, a technical manual has a “layout” with the graphics of the components mounted on the board, with their relative values, a list of the installed components and the technical diagrams with the paths of the tracks and the symbol of the components. In this case, in the layout, the two voltage regulators were reversed and without a thorough study of the scheme, comparing the tracks with the real ones, the diagnosis would have been that of my technician, “non-repairable synth“.


Once the trick was discovered, it took a few minutes to “resurrect” the synth. You cannot imagine the happiness of seeing the mini-LED of the LFO flash again, to remain still in a metaphysical environment, “after the long death!”

(2021 Massimo Belladonna – maxpro.audio)

CRUMAR Spirit, vintage analog synth repair

It has been hard to find the time to write, this time!
I’m starting producing videos related to this blog and as my knowledge in video editing is absolutely basic, this means long preparation times. Lots of things to learn so most of the time usually dedicated to music had to be diverted in watching instructional videos.

Finally, after too long, I decided to turn the Crumar Spirit, a first 80s monophonic analog synthesizer, back on to check if it was still working, given that last time it had shown signs of “tiredness”.
While recording a video, I realized that something strange was going on. Sudden jumps in intonation, notes that didn’t want to play, or that sounded intermittent.. then suddenly the worst! The keyboard started emitting only the note pulses (Gate) and no longer the pitch. (CV)
..and so once again, abrupt split to the opposite cerebral hemisphere and here I am again to repair “in the field” my junk!
Inspecting the interior of the Crumar Spirit, the first suspect was certainly the Input/Output board, where the CV/Gate data enters and leaves the synth. And in fact, the culpable was found there! At the height of the connector, a track of the circuit was broken, perhaps due to the action of the connected plugs, over the years.
With a simple bridge, I was able to repair the circuit and bring back into the Spirit, its spirit!

Yamaha NS-10 reborn, Avantone Drop-in Replacement Tweeter

Yamaha NS-10 reborn, Avantone Drop-in Replacement Tweeter

It was long my Yamaha NS-10 monitors had both tweeters dead, I love these speakers so much that I was costantly thinking on fixing them, but didn’t want to spend a fortune. Unfortunately, the blown tweeter is a very common issue with these monitors and as the NS-10 remains an indispensable tool for lots of people, the original tweeters are still in high demand. As the NS-10 speakers are no more in production that is long already, finding parts was getting pretty hard and the originals, reached very high prices. This is the reason that forced me years ago, to buy a pair of Yamaha MSP-5, monitors that I love very much, but that are not “my” NS10s.

Last week, with great surprise I discovered that Avantone Pro, the company of those classic tiny monitors, are selling identical copies of the original NS-10 speakers and at a really attractive price. After reading all I could and watching a few videos, I decided this was the best way to go and wanted to give a try to these replacement tweeters. I bought mine through a big online shop at 122 euros each, really a fraction of what I could have spent for NOS Yamaha NS-10 tweeters.

As promised the replacement is a drop in, there’s no need of adapting anything, the shape of the replacement speaker is identical to the original. All is as simple as soldering the speaker cables to the new tweeters and screw the tweeter back into the monitor.

I’m surprised at looking how identical to the original these tweeters are, all details are exactly the same, only the ring around the tweeter dome, has a slightly lighter grey colour. Is it this the difference that allows Avantone to clone the Yamaha speakers, without copyright infringement repercussions? Sure you understand I’m just kidding, I’m sure if they can freely sell a so exact copy, these details have been cleared already.

Original Yamaha tweeter on the left

After the installation and the promising sound test, I’ve been mixing for several hours, completely forgetting I was doing so on the new tweeters, perfect prove that I was feeling absolutely confortable with their sound!

I’m very happy with this upgrade! :)

The Dark Side of Vintage Machines, Trident Series 80b fail and repair

I believe today analog consoles are seen by many as bulky, unbelievably thirsty of energy and continuously in need of maintenance items, in practical terms, obsolete tools.

The tendency, in the last decade, has been to abandon the traditional mixing desk in favor of virtual mixers or “control surfaces“: Focusing on  quality converters with as many as possible inputs and hardware gear, like equalizers and dynamics processors connected to a patchbay, to combine at wish.

This choice has great advantages in terms of variety of sound and physical space, considering that you buy only the modules you really need or like for your usual session, possibly with different audio “colors“, to have a wide sound palette, instead of lots of identical channels as in the classic console.

Of course I agree with this approach, but limited to the phase of recording. I find the classic surface controlling and placement of knobs, ergonomically ideal, being the result of decades of “evolution” in mixing down techniques in analog. For this reason digital control surfaces mimic the shape and workflow of the analog desks. When you start working out of the box, is way more comfortable to have easy access and visuals of the parameters you are adjusting.

Having an analog mixing desk, forces you to a sort of marriage to your equipment, your mixer is the heart of the studio, it will imprint its own sound and needs all your care and attentions and the older, the more care it will need.

It is annoying to find your preamplifer is broken, but having a failure in the mixing buss of the mixer, for example, forces you to do an immediate repair, or you will have no music at all!
Big mixers are modular for this reason, studios always had modules in stock, to swap them with already repaired ones, in case one of them was failing.

Trident Series 80b, Remix slider


On my Trident Series 80b, its oscillator needed to detect the failures, was broken, it couldn’t generate a sine wave anymore. Instead judging from the scope, it was generating a strange saturated square waveform. I will do what is possible in the future to fix it, in substitution the old Korg MS-50 oscillator has been useful as lab tool once again. This time I used its oscillator, rounding a triangular waveform through the LPF, to obtain the sine wave I wanted for the tests.

Korg MS-50 Synthesizer, used as test lab tool

One of the problems the console was having, was a false contact somewhere in the remix buss, making at low gain, from time to time, disappear the right side of the stereo mix. The Trident Series 80 has plenty of TL-071 opamps, spread everywhere on its circuits. Usually if there’s something wrong in the signal, those are the first components I learned must be checked.

Trident Series 80b, Remix Buss card connections

This time, the culpable for the Remix buss fail, was a wrong peeling of the wires that connected the mix buss card with its motherboard  (Echo Aux module) made sometime in the past. Because the copper core was cut too much, part of its filaments must have been lost with the shaking, during the various repairs in the last 35 years and the connection on both the positive audio rail and ground, was extremely fragile and intermittent.

While illuminating the mixer’s board with a strong spotlight, I realized for the first time that the resin the PCB is made of, is transparent. We are used to the squared,  mostly made of straight lines, tracks of the circuits of today, sure ideal for the mechanization process in their production. Looking at old circuits instead, I’m always fascinated by the “organic” shapes and in a certain way artistic, tracks “style”!

In all these years mixing ITB, I’ve been continuosly dreaming to return to mix in analog and to do so, try to remain as close as possible to the classic 70s and 80s studio setup.  Thanks to the energy put in the last several months, I could restore my old Trident console, fix its patchbay and slowly move from a recording only setup, to a complete production and mixing studio.

Elektron Analog Keys broken keyboard and repair


OK, a failure can happen even to the most modern synths,  most commonly caused by a failing component, but finding a tiny polystyrene pellet right inside the contacts of my Elektron Analog Keys keyboard, has been really surprising. The small fluffy ball, found the way through, still in the production phase I guess, as when I opened the keyboard assembling all looked clean and the rubber tops were well sealed. As the warranty had expired already, I had the perfect excuse to check what was inside the only of my “unexplored” synths.

There are plenty of tiny screws to have access to the “insides”, better using a powered screwdriver.


Keyboard assembly


Keyboard PCB


Contact pads


Under the contact pads is where I found the small pellet


Simply removing it and assemble all parts back, the synth’s keyboard returned to working smoothly.


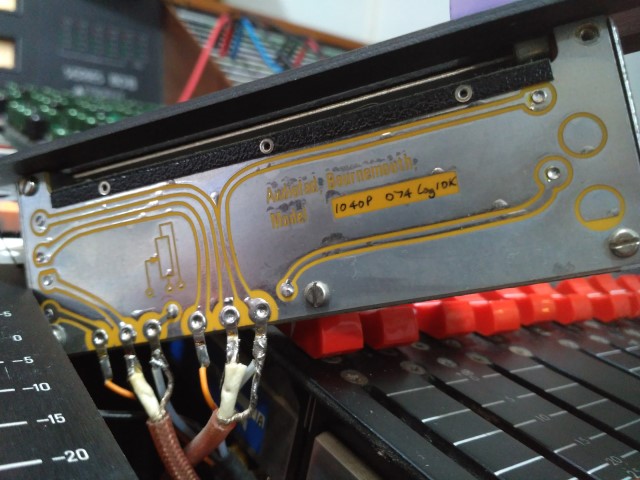
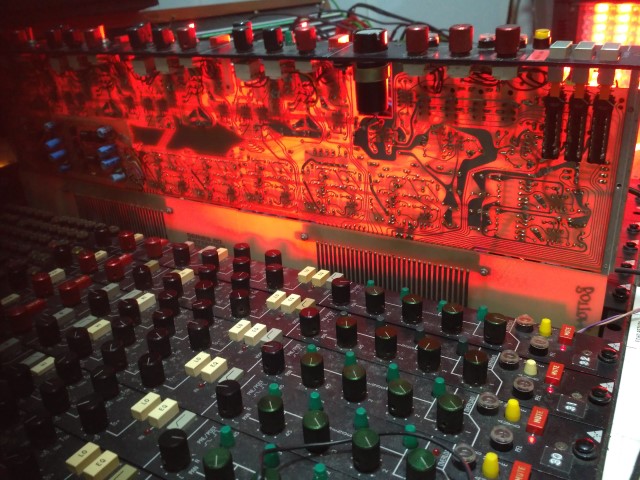
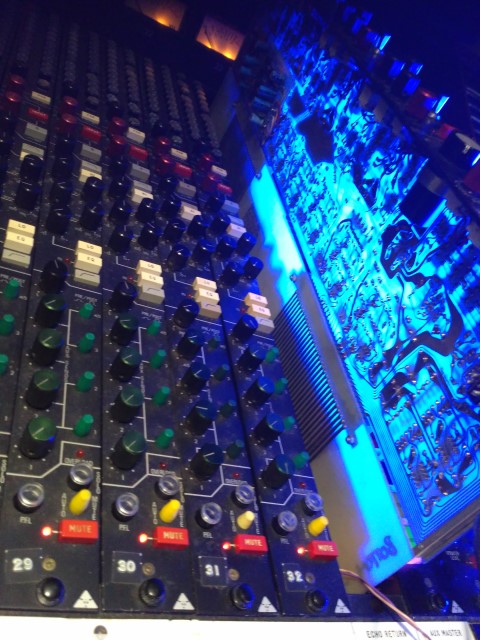
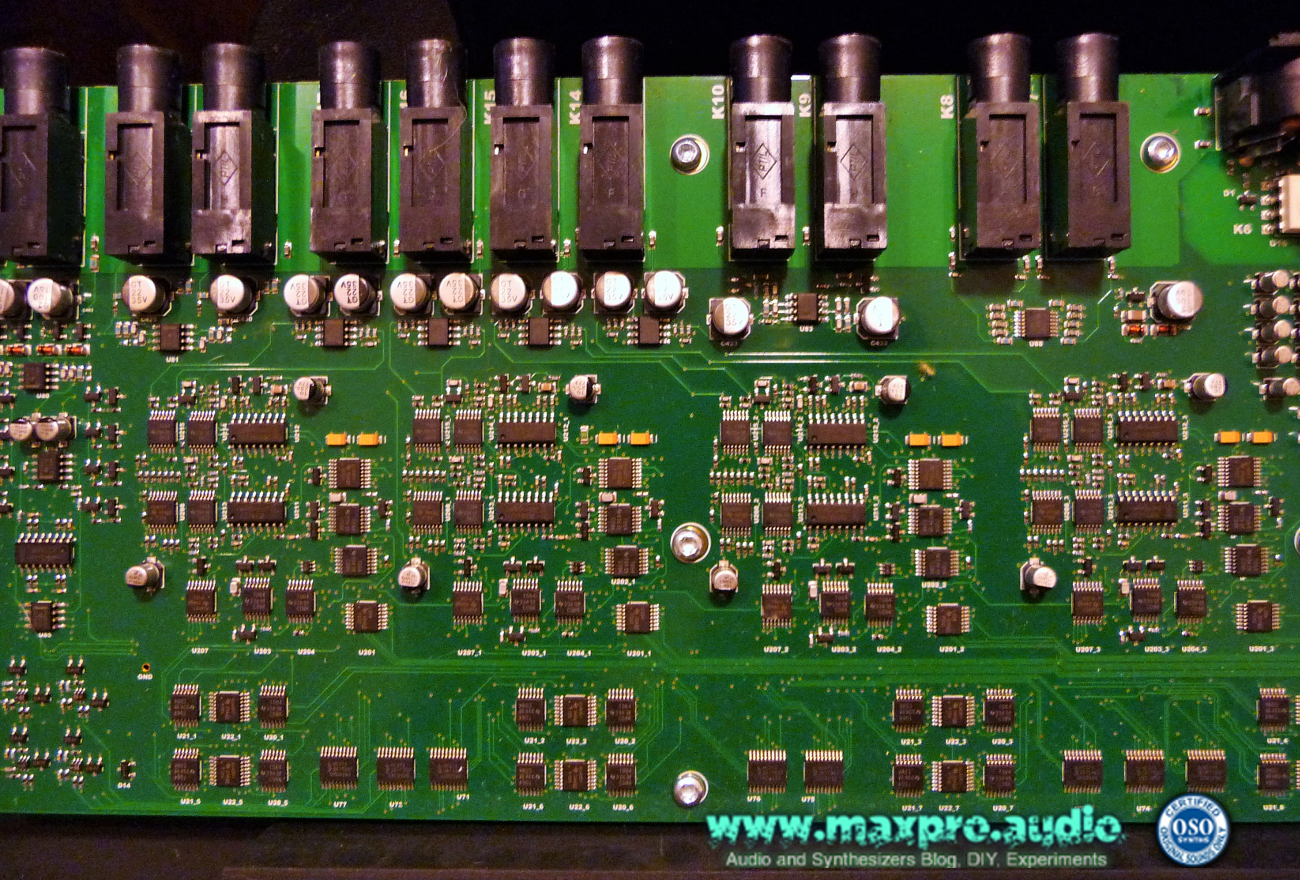
     Elektron Analog Keys PCB


The Dark Side of Vintage Machines: Part 1 – Korg MS-50, failing jack connector repair and test drive

KORG MS-50 1979 Modular Analog Synth


Korg MS-50
Korg MS-50

For “The Dark Side”, I mean the real nightmare always lurking, while playing with vintage machines: Their tendency to break apart, often in the middle of an important session.

Always the best option, if possible,  is to be able to do some small fixes in “DIY mode”, to save money and have the repair done promptly. The older the machine, the easier the repair is, usually. This is valid, if some rare parts availability, doesn’t interfere in the logic.

Doing some tests recently,  I found that the auxiliary VCA section of my Korg MS-50, had one of its jacks broken inside. The plug was not kept in its place, like if there was nothing inside to retain it. I suspected the positive pole plate got broken.

Good occasion to open up the synth and look what’s inside ;)

As soon as I unscrewed and removed the later panels, I remained impressed by the fact that in the interior of its panels the Korg MS-50,..ehm…IT’S EMPTY! :D It’s pretty impressive how Japanese technology was advanced, considering that this synth was in production, since 1979.

Korg MS-50 Inside 01

In the interior of the Korg MS-50, there are just a couple of thin PCBs, plus the PSU board.

What occupy much place, are the plastic slots for the jacks metal connectors plates.

The only thing really modular to me,  is the placement of the jacks in the front panel, simulating the modules of a real modular synth. Modules can be connected through external connections only , same as a modular and not as the rest of the MS series, where some internal patching is placed already.

This not complete modularity, can look a bit suspicious by the most purists, but the sounds that this machine is capable to create are fantastic, even with it’s limited single oscillator configuration.

The Korg MS-50 have been pictured in Aphex Twin studio and should have been used by The Chemical Brothers.

REPAIR


Korg MS-50 Inside 02

Inspecting the interior, (with major relieve) I discovered wasn’t necessary to disassemble the whole synth, as removing the main PCB from the front plate, must be a really tedious process, considering all the jack bolts, to unscrew.

The cause of the fail for the broken jack, resulted in being the connector plate of the + polarity, that I found off its slot.


MS-50_int connector fail


Just some glue solved the problem, a much easier solution than what I thought was necessary, at the beginning.


TEST DRIVE


To test the VCA repair, I decided to make a demo, squeezing from the Korg MS-50 single oscillator, all its waveforms. I triggered them from its two Envelope Generators and a Korg SQ-10 Analog Sequencer that plays the sequence.

Korg MS-50 and SQ-10
Korg MS-50 Patched, SQ-10 connected

Sawtooth – VCF – VCA – Valve audio preamp
PWM – Divider – VCA2 – Adding Amp
Triangle – (no ADSR) – Adding Amp
Adding Amp – Audio Amplifier – Transformer audio preamp


The signal split is sent to two different preamps, to spread it into the stereo field. No effects apart some dynamics control, have been used.


LINKS


Interesting articles on the MS series:

https://www.sequencer.de/korg/korg_ms20_ms50_ms10_sq10.html

https://www.sequencer.de/syns/korg/MS50.html

A post regarding MS-50 adjustments:

https://www.muffwiggler.com/forum/viewtopic.php?t=63534&sid=75a570d9988dbe7bd5d1122cb6973b44