The Dark Side of Vintage Machines, Trident Series 80b fail and repair

I believe today analog consoles are seen by many as bulky, unbelievably thirsty of energy and continuously in need of maintenance items, in practical terms, obsolete tools.

The tendency, in the last decade, has been to abandon the traditional mixing desk in favor of virtual mixers or “control surfaces“: Focusing on  quality converters with as many as possible inputs and hardware gear, like equalizers and dynamics processors connected to a patchbay, to combine at wish.

This choice has great advantages in terms of variety of sound and physical space, considering that you buy only the modules you really need or like for your usual session, possibly with different audio “colors“, to have a wide sound palette, instead of lots of identical channels as in the classic console.

Of course I agree with this approach, but limited to the phase of recording. I find the classic surface controlling and placement of knobs, ergonomically ideal, being the result of decades of “evolution” in mixing down techniques in analog. For this reason digital control surfaces mimic the shape and workflow of the analog desks. When you start working out of the box, is way more comfortable to have easy access and visuals of the parameters you are adjusting.

Having an analog mixing desk, forces you to a sort of marriage to your equipment, your mixer is the heart of the studio, it will imprint its own sound and needs all your care and attentions and the older, the more care it will need.

It is annoying to find your preamplifer is broken, but having a failure in the mixing buss of the mixer, for example, forces you to do an immediate repair, or you will have no music at all!
Big mixers are modular for this reason, studios always had modules in stock, to swap them with already repaired ones, in case one of them was failing.

Trident Series 80b, Remix slider


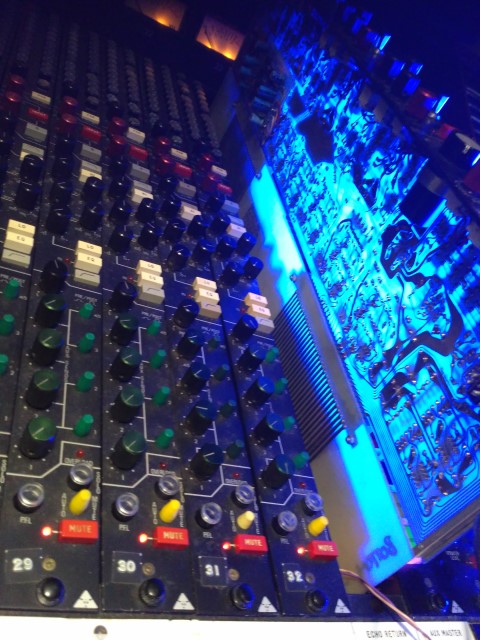
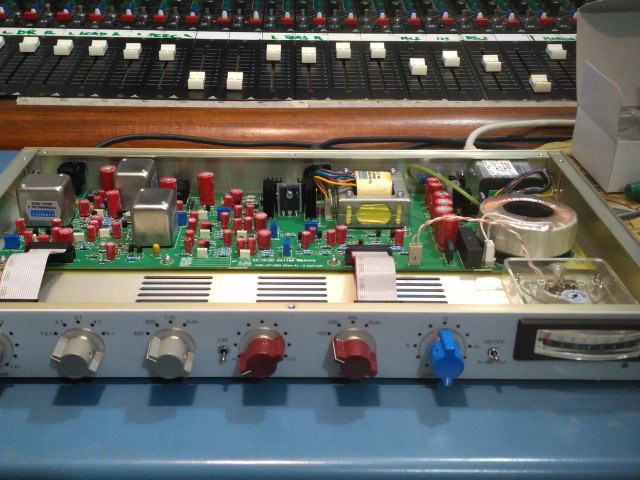
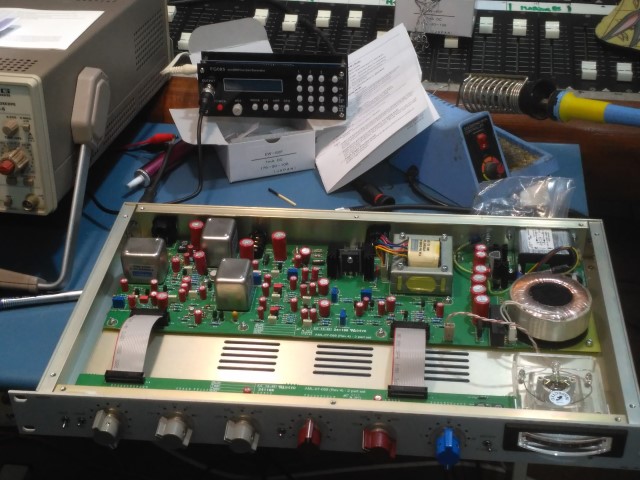
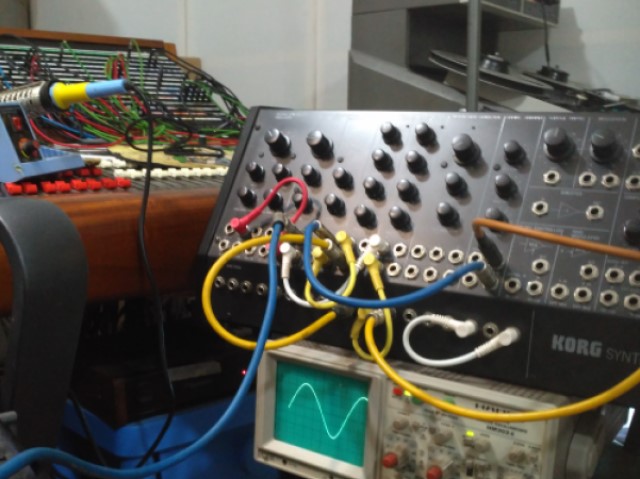
On my Trident Series 80b, its oscillator needed to detect the failures, was broken, it couldn’t generate a sine wave anymore. Instead judging from the scope, it was generating a strange saturated square waveform. I will do what is possible in the future to fix it, in substitution the old Korg MS-50 oscillator has been useful as lab tool once again. This time I used its oscillator, rounding a triangular waveform through the LPF, to obtain the sine wave I wanted for the tests.

Korg MS-50 Synthesizer, used as test lab tool

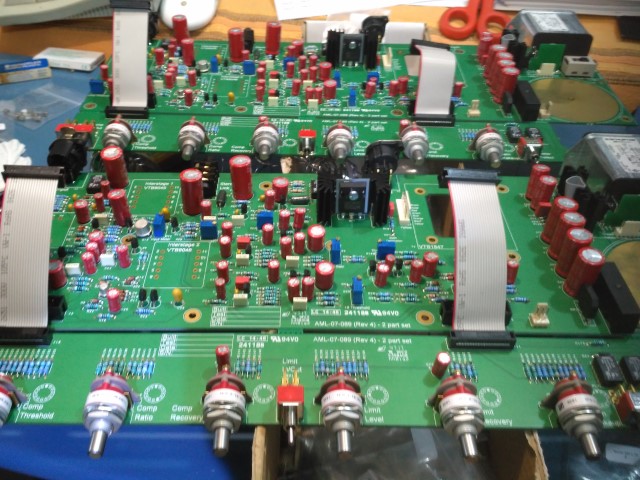
One of the problems the console was having, was a false contact somewhere in the remix buss, making at low gain, from time to time, disappear the right side of the stereo mix. The Trident Series 80 has plenty of TL-071 opamps, spread everywhere on its circuits. Usually if there’s something wrong in the signal, those are the first components I learned must be checked.

Trident Series 80b, Remix Buss card connections

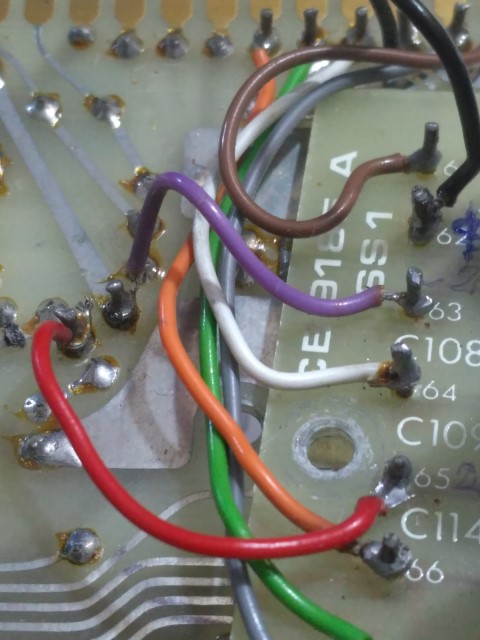
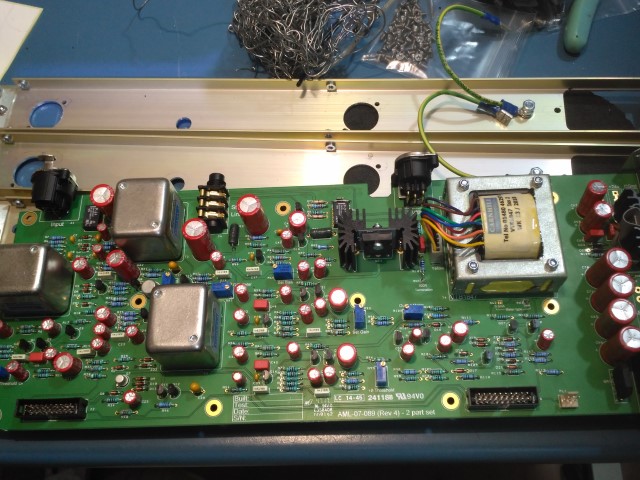
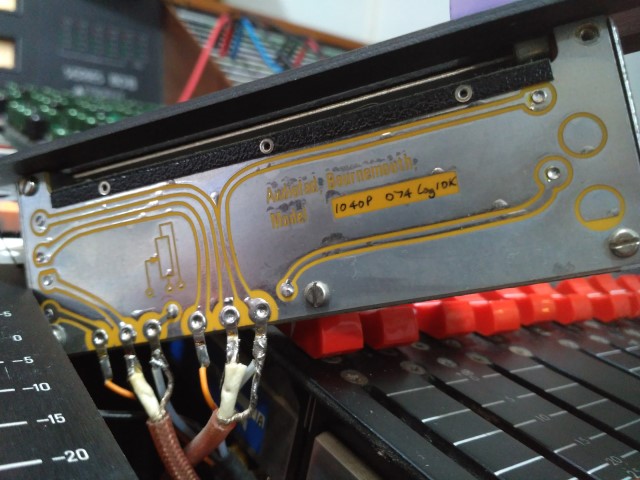
This time, the culpable for the Remix buss fail, was a wrong peeling of the wires that connected the mix buss card with its motherboard  (Echo Aux module) made sometime in the past. Because the copper core was cut too much, part of its filaments must have been lost with the shaking, during the various repairs in the last 35 years and the connection on both the positive audio rail and ground, was extremely fragile and intermittent.

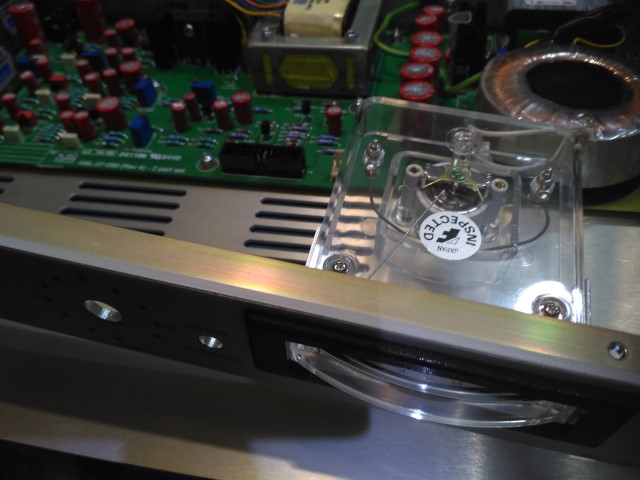
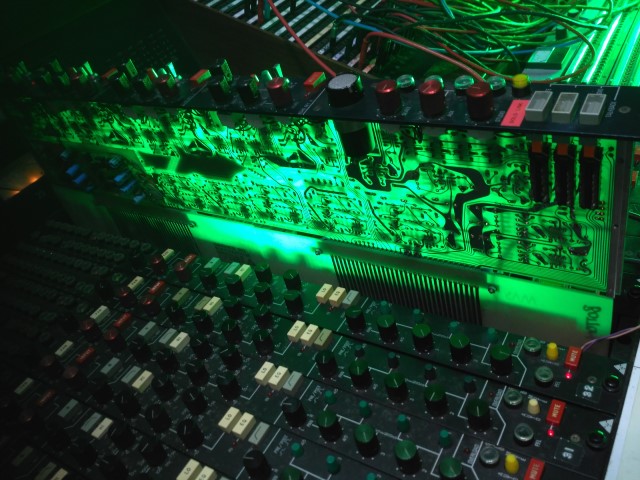
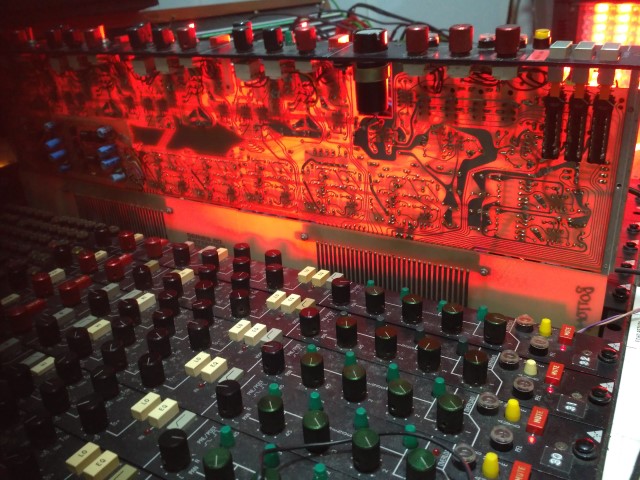
While illuminating the mixer’s board with a strong spotlight, I realized for the first time that the resin the PCB is made of, is transparent. We are used to the squared,  mostly made of straight lines, tracks of the circuits of today, sure ideal for the mechanization process in their production. Looking at old circuits instead, I’m always fascinated by the “organic” shapes and in a certain way artistic, tracks “style”!

In all these years mixing ITB, I’ve been continuosly dreaming to return to mix in analog and to do so, try to remain as close as possible to the classic 70s and 80s studio setup.  Thanks to the energy put in the last several months, I could restore my old Trident console, fix its patchbay and slowly move from a recording only setup, to a complete production and mixing studio.

The Sound Is In The Iron, DIY Neve 2254 Limiter Compressor

To upgrade my studio to the new production and mixing setup I’ve been dreaming for so long, I needed a few more hardware processors, like equalizers, reverbs and compressors. Several years ago, I built a IJ Research Neve 2254c (a DIY stereo or dual mono Neve 2254, with the sidechain circuit taken from the Neve 33609) and still being enthusiast for its sound, I wanted something similar, without having to spend a fortune on a “real” AMS Neve 33609 stereo compressor, or on a pair of 2254R
Choosing to build a couple of AML Neve-2254 seemed to be the more logical option, hoping to have a good performance and not going bankrupt in the process.

Diode Bridge Compression

On Youtube there’s an interesting interview with Rupert Neve, explaining the origin of this family of limiter compressors and the development of their technology.

Neve was contracted in 1969 to find a substitution for the limiter compressor modules installed on Pye (Philips) mixing consoles at ABC TV, who promised buying a big number of units.

Rupert Neve used a diode bridge as control device, as he reports on this interview:
“The diode is a non linear device with a huge amount of distorsion but if configurated as a bridge, distorsion lowers considerably.  “So you can apply audio across one set of contacts and you apply your control voltage across the other side, it’s a classic bridge configuration. And by carefully choosing the limits of control and signal, it gave a quite good account of itself “

Neve developed the device implementing parts of their products already in production, as the line amplification section was the same as the famous Neve 1073 microphone preamplifier. The original 2252 developed in the successful 2254 and in the stereo 33609.

AML 2254 kit

As I recently wrote about an other one of their kits, I want to be clear that I have nothing to do with AML, apart from being a happy customer. Based on my previous experience with this company, I expected the kit not to be too hard to build and all the parts of the best quality. On this aspect, I had a confirmation once received the box from the postman. Holding it, it was so heavy, this could only meant there was a good quantity of IRON in that box! (more later)

Unboxing the AML Neve 2254 Compressor Limiter

As expected all parts were carefully sealed in separate labelled bags and the texts on the boards, were easy to read

DIY Neve 2254 PCB

The front panel is made of high quality switches from Greyhill,  The scary part for me has been programming them. This is done through inserting some tiny metal cylinders, in one or two of the programming small holes and when I say small, I mean almost impossible to me to see, without proper magnification lens.

Greyhill Switches

While building the Fairchild EQs, hasn’t been easy at the beginning to complete this task. Last time, to program the switches, I tried grabbing one of those tiny pins with the wrong tweezers and suddenly one of them took off, landing somewhere on the floor. It has been hard to explain to my dog, who came running for help, what there was so interesting to stay sniffing under the table for so long!

Switches programming slots

“The Sound Is In The Iron”

This phrase supposedly said by Rupert Neve, means that iron in the audio transformers has big importance to get the classic Neve “Sound”.

DIY Neve 2254 Carnhill Transformer

Same as the Fairchild equalizers of the previous article, AML included only electronic parts of the best quality.

DIY Neve 2254 Assembling

The Carnhill transformers included are handbuilt faithful recreations of the classic units they built for Neve, under the name Saint Ives Windings.

DIY Neve 2254 tranformers

The VU meters are the same Neve used to mount on the 2254 console modules. I like the original look, but I prefer the Sifam I mounted on my 2254/33609, as these are easier to read.

DIY AML Neve 2254 VU Meter

Included in the kit are the classic Marconi knobs, I really love them!
The part that I enjoyed less (as usual) has been building the frame. This one is solid, it works, but is more complicated to build than the one chosen for the equalizers. To be honest, I don’t like the vinyl adhesive front face neither, it looks good with a shiny white granular texture, but I’m not sure how long it can lasts and I find the classic RAF grey blue of the original, more attractive.


DIY Neve 2254 Completed

To calibrate the pair, I had to recur to the Pro Tools Signal Generator, as the new function generator I had assembled, couldn’t reach 20dBU or the 7.74v RMS required

DIY Neve 2254 Calibration

Here we are, the two DIY Neve 2254 completed, tested and now in good company in the rack!

AML DIY Neve 2254 and IJ Research DIY Neve 2254c